In August, I received a commission from a co-worker to paint a portrait of her house to give to her husband for Christmas. The husband designed the house and had made comments before about wanting a painting of their home. I was delighted to take on this challenge and surprised even myself with the end result! I received a message from my co-worker on Christmas Day letting me know that her husband absolutely loves the painting and was so shocked and surprised! I just love being a part of something so special.
-

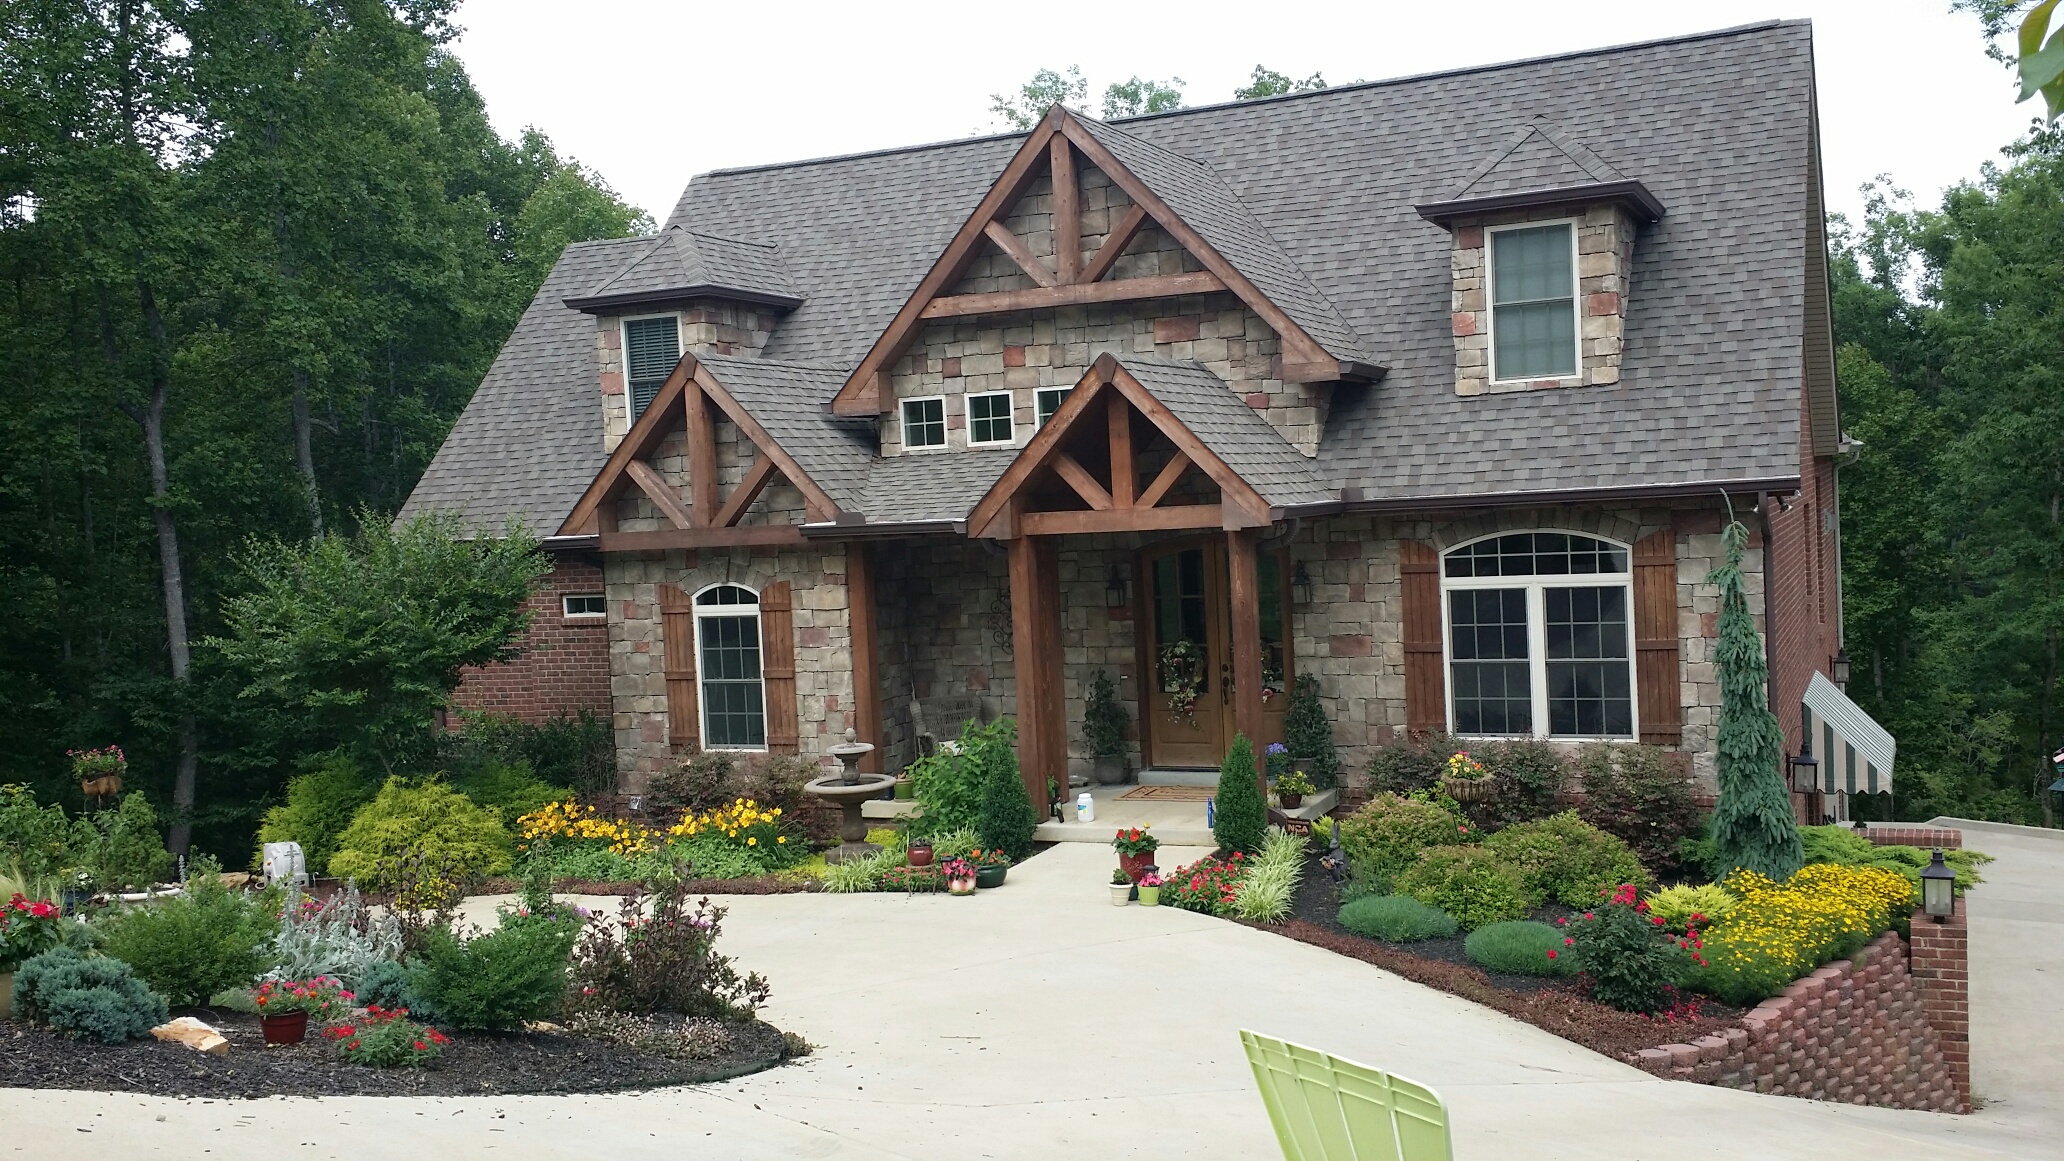
- Reference photo
-
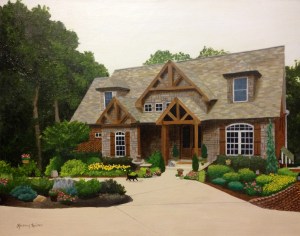
- Home Sweet Home; 16×20 oil on canvas; commission piece
As I was working on this piece, I took a photo of almost every stage so that I could share the multitude of steps that go into painting a house. Each photo (with a few exceptions) represents approximately 2 hours of work.
Phase 1: Drawing — a painting is only as good as your drawing (and palette)!
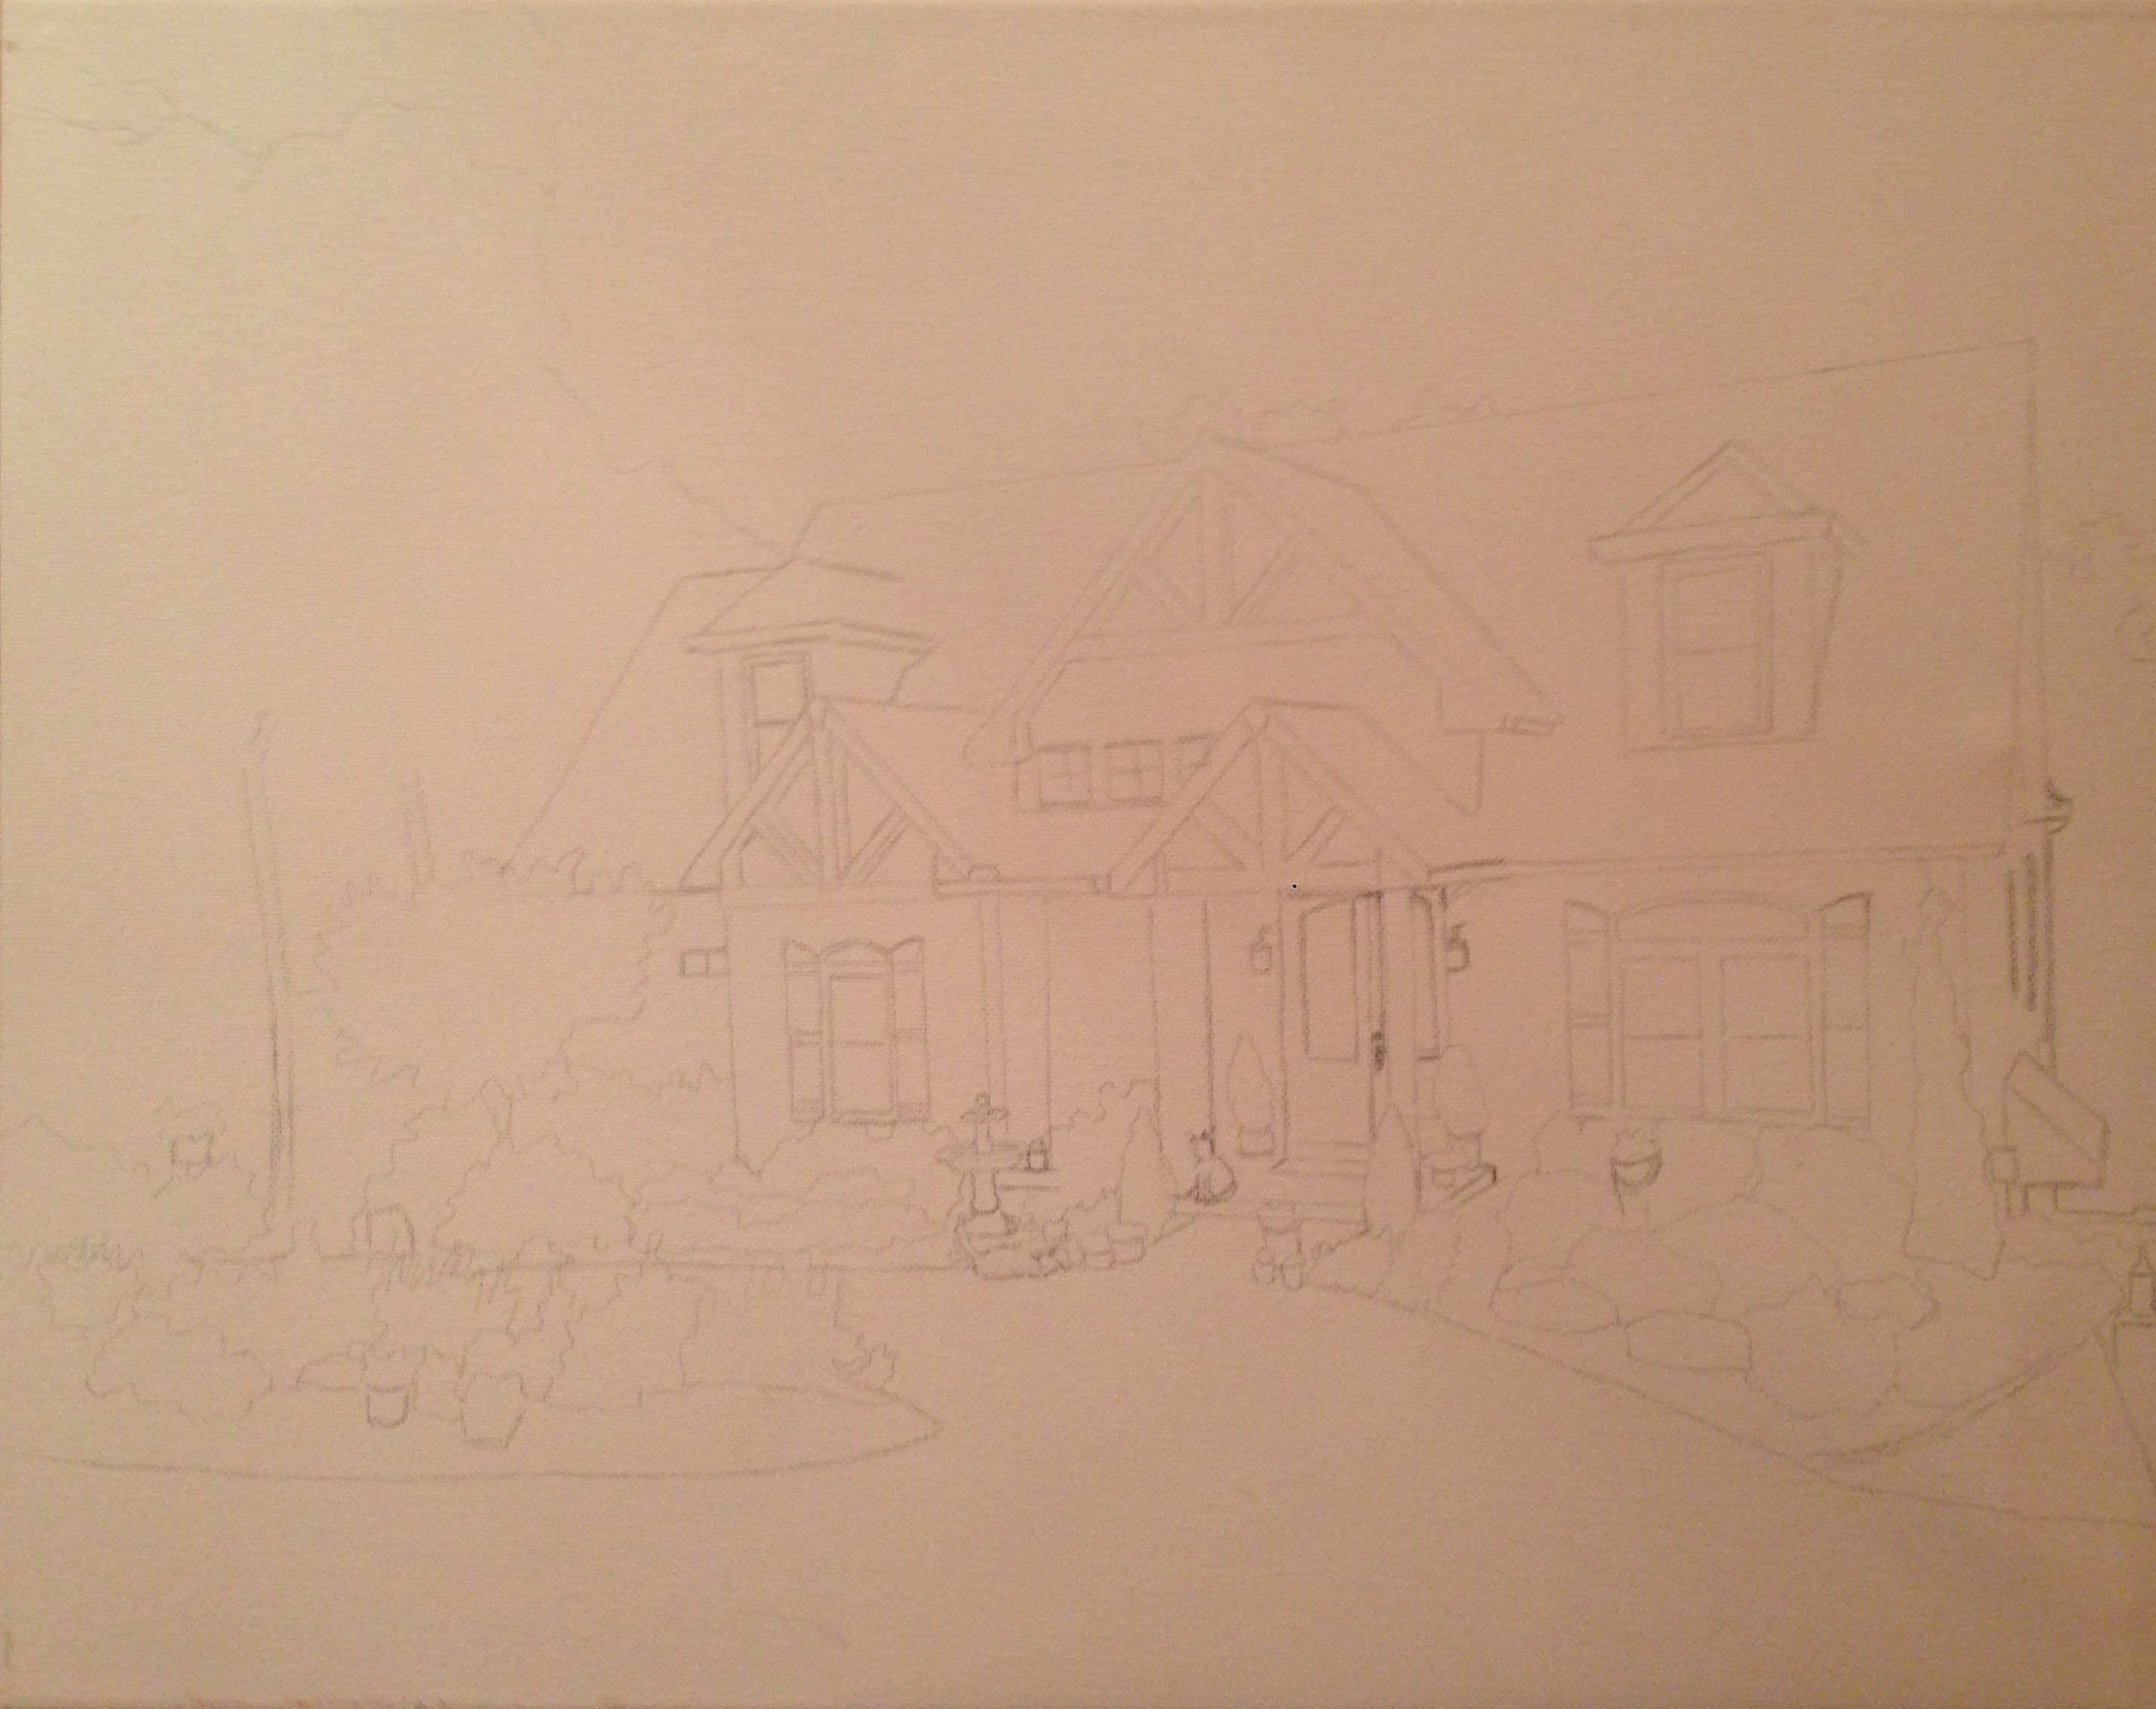
Phase 1
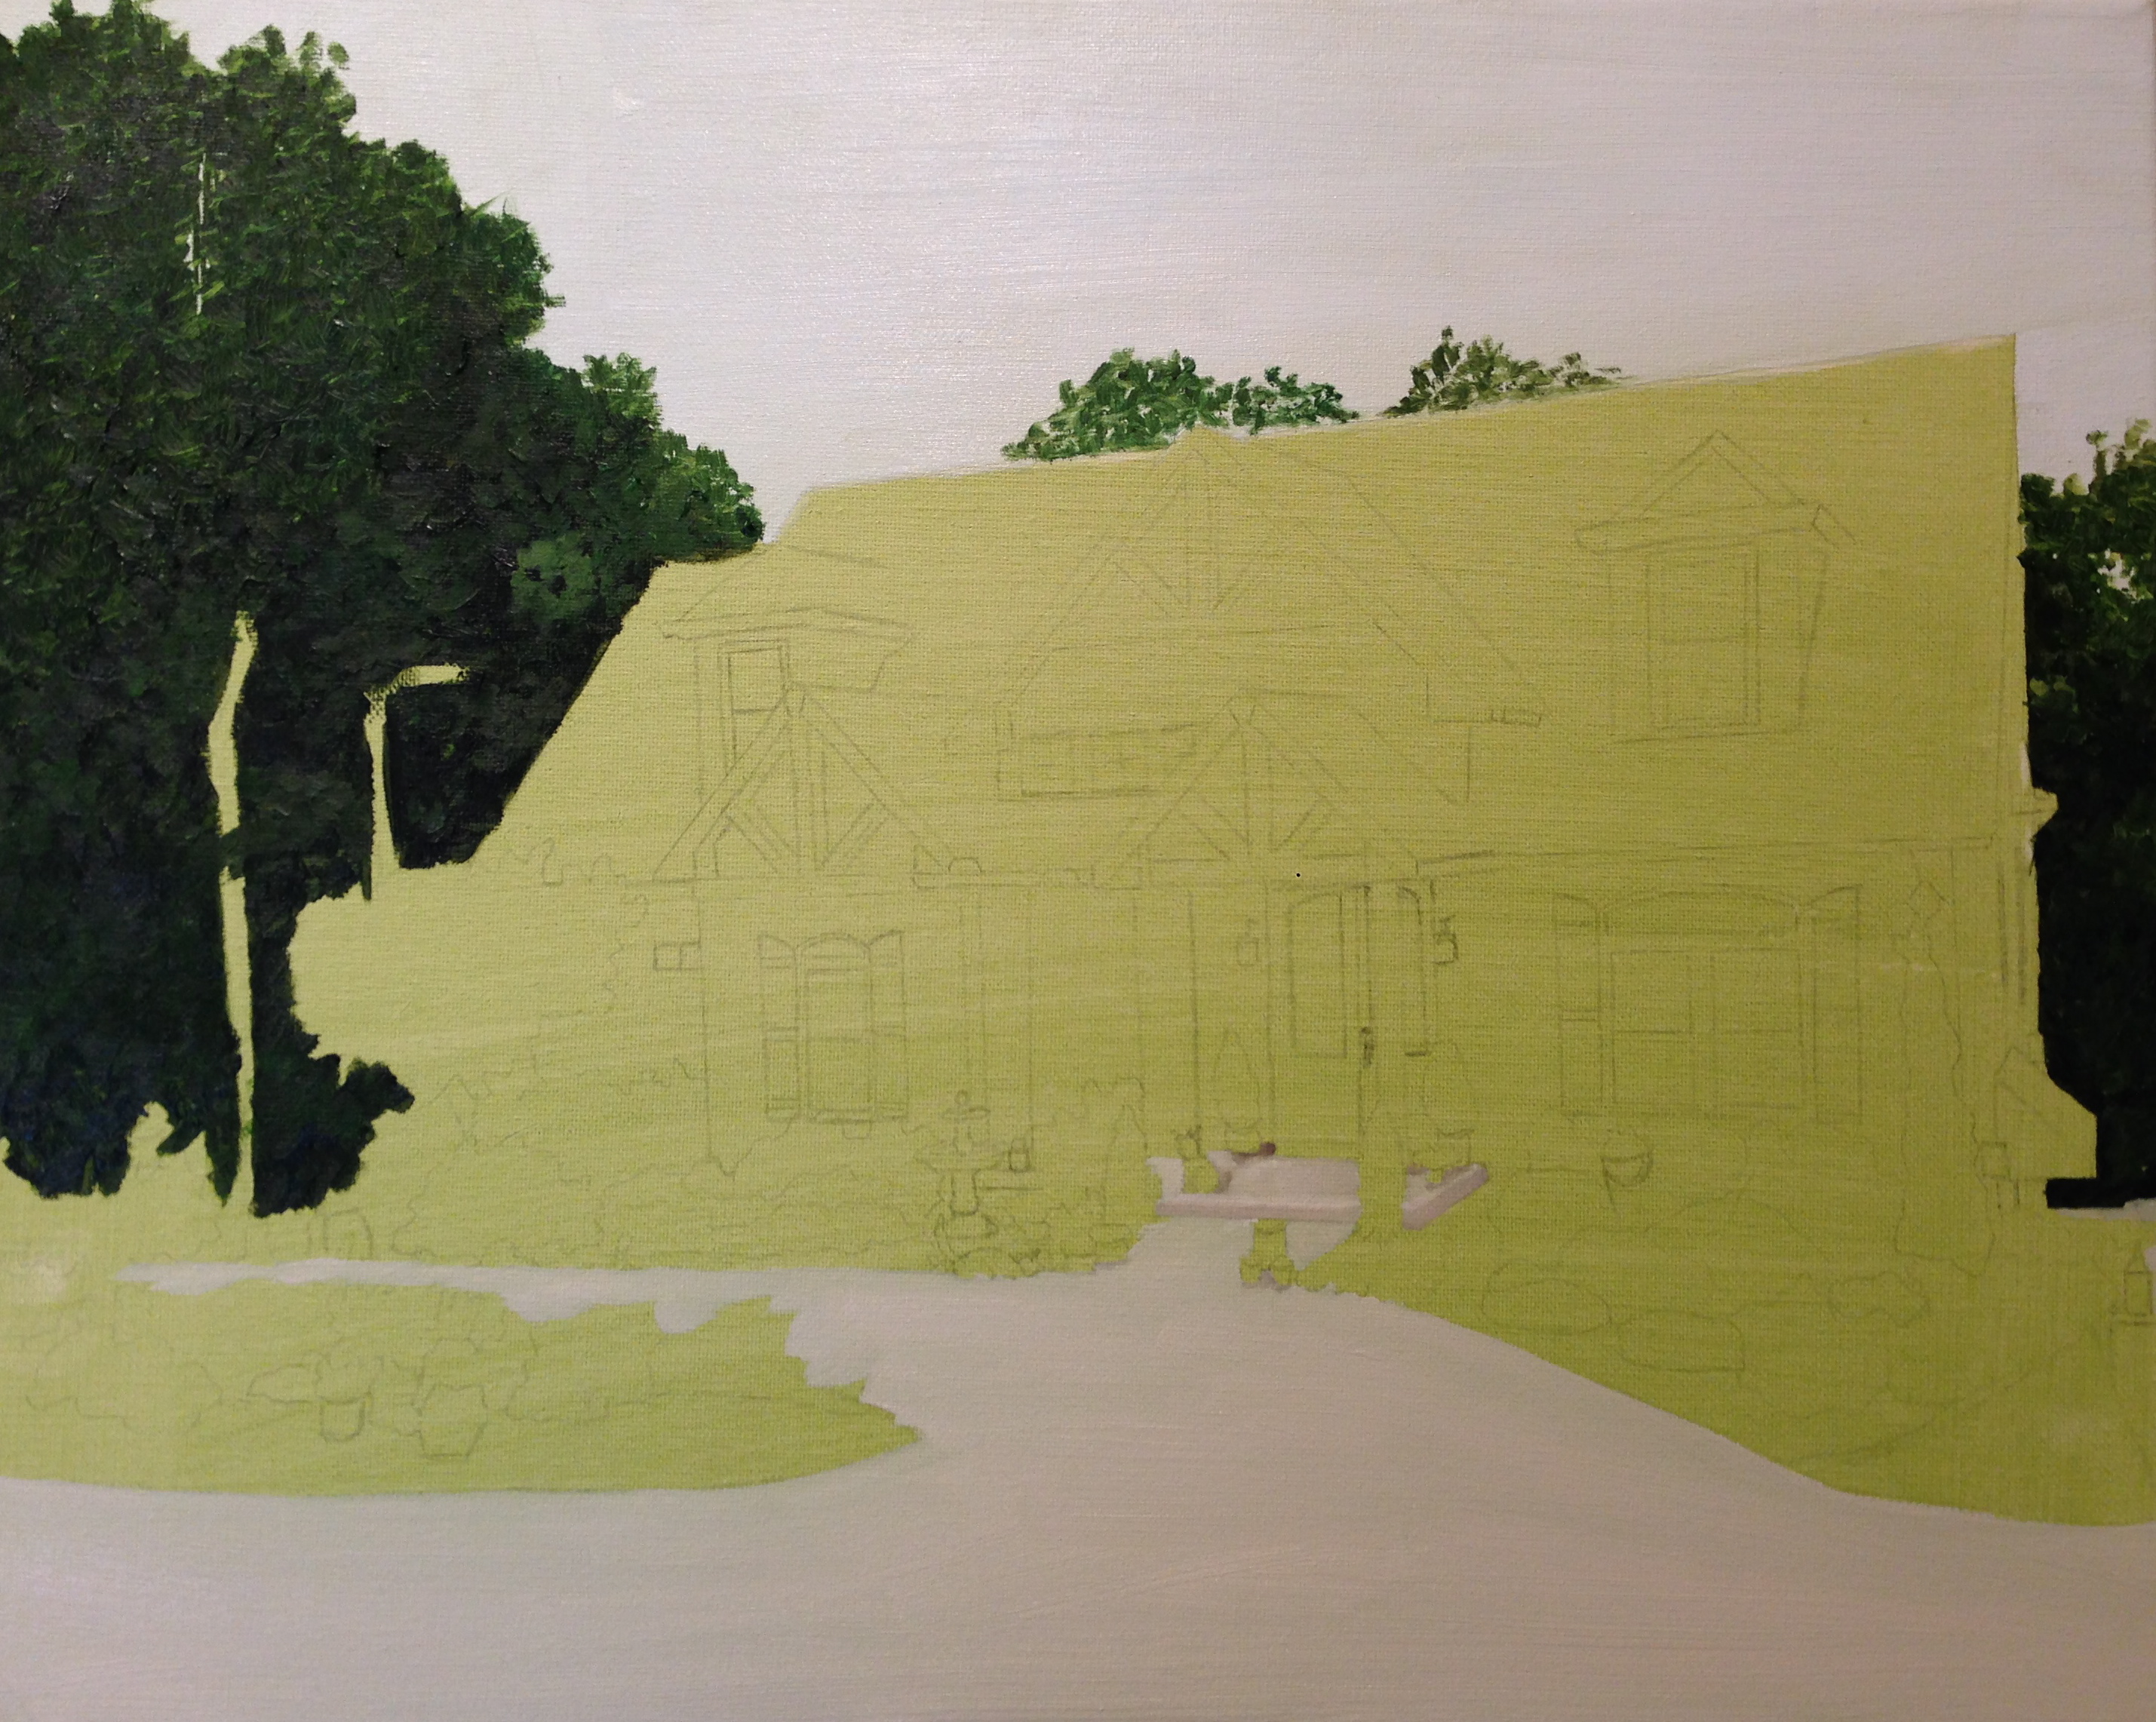
Phase 2: Toning the canvas – this is a personal preference. I dislike painting on a white canvas because it makes it difficult to judge value levels. Green was chosen for toning since the subject matter had quite a bit of green — trees, landscaping etc…

Phase 2
Phase 3: I painted the sky, driveway and the dark greens of the trees.
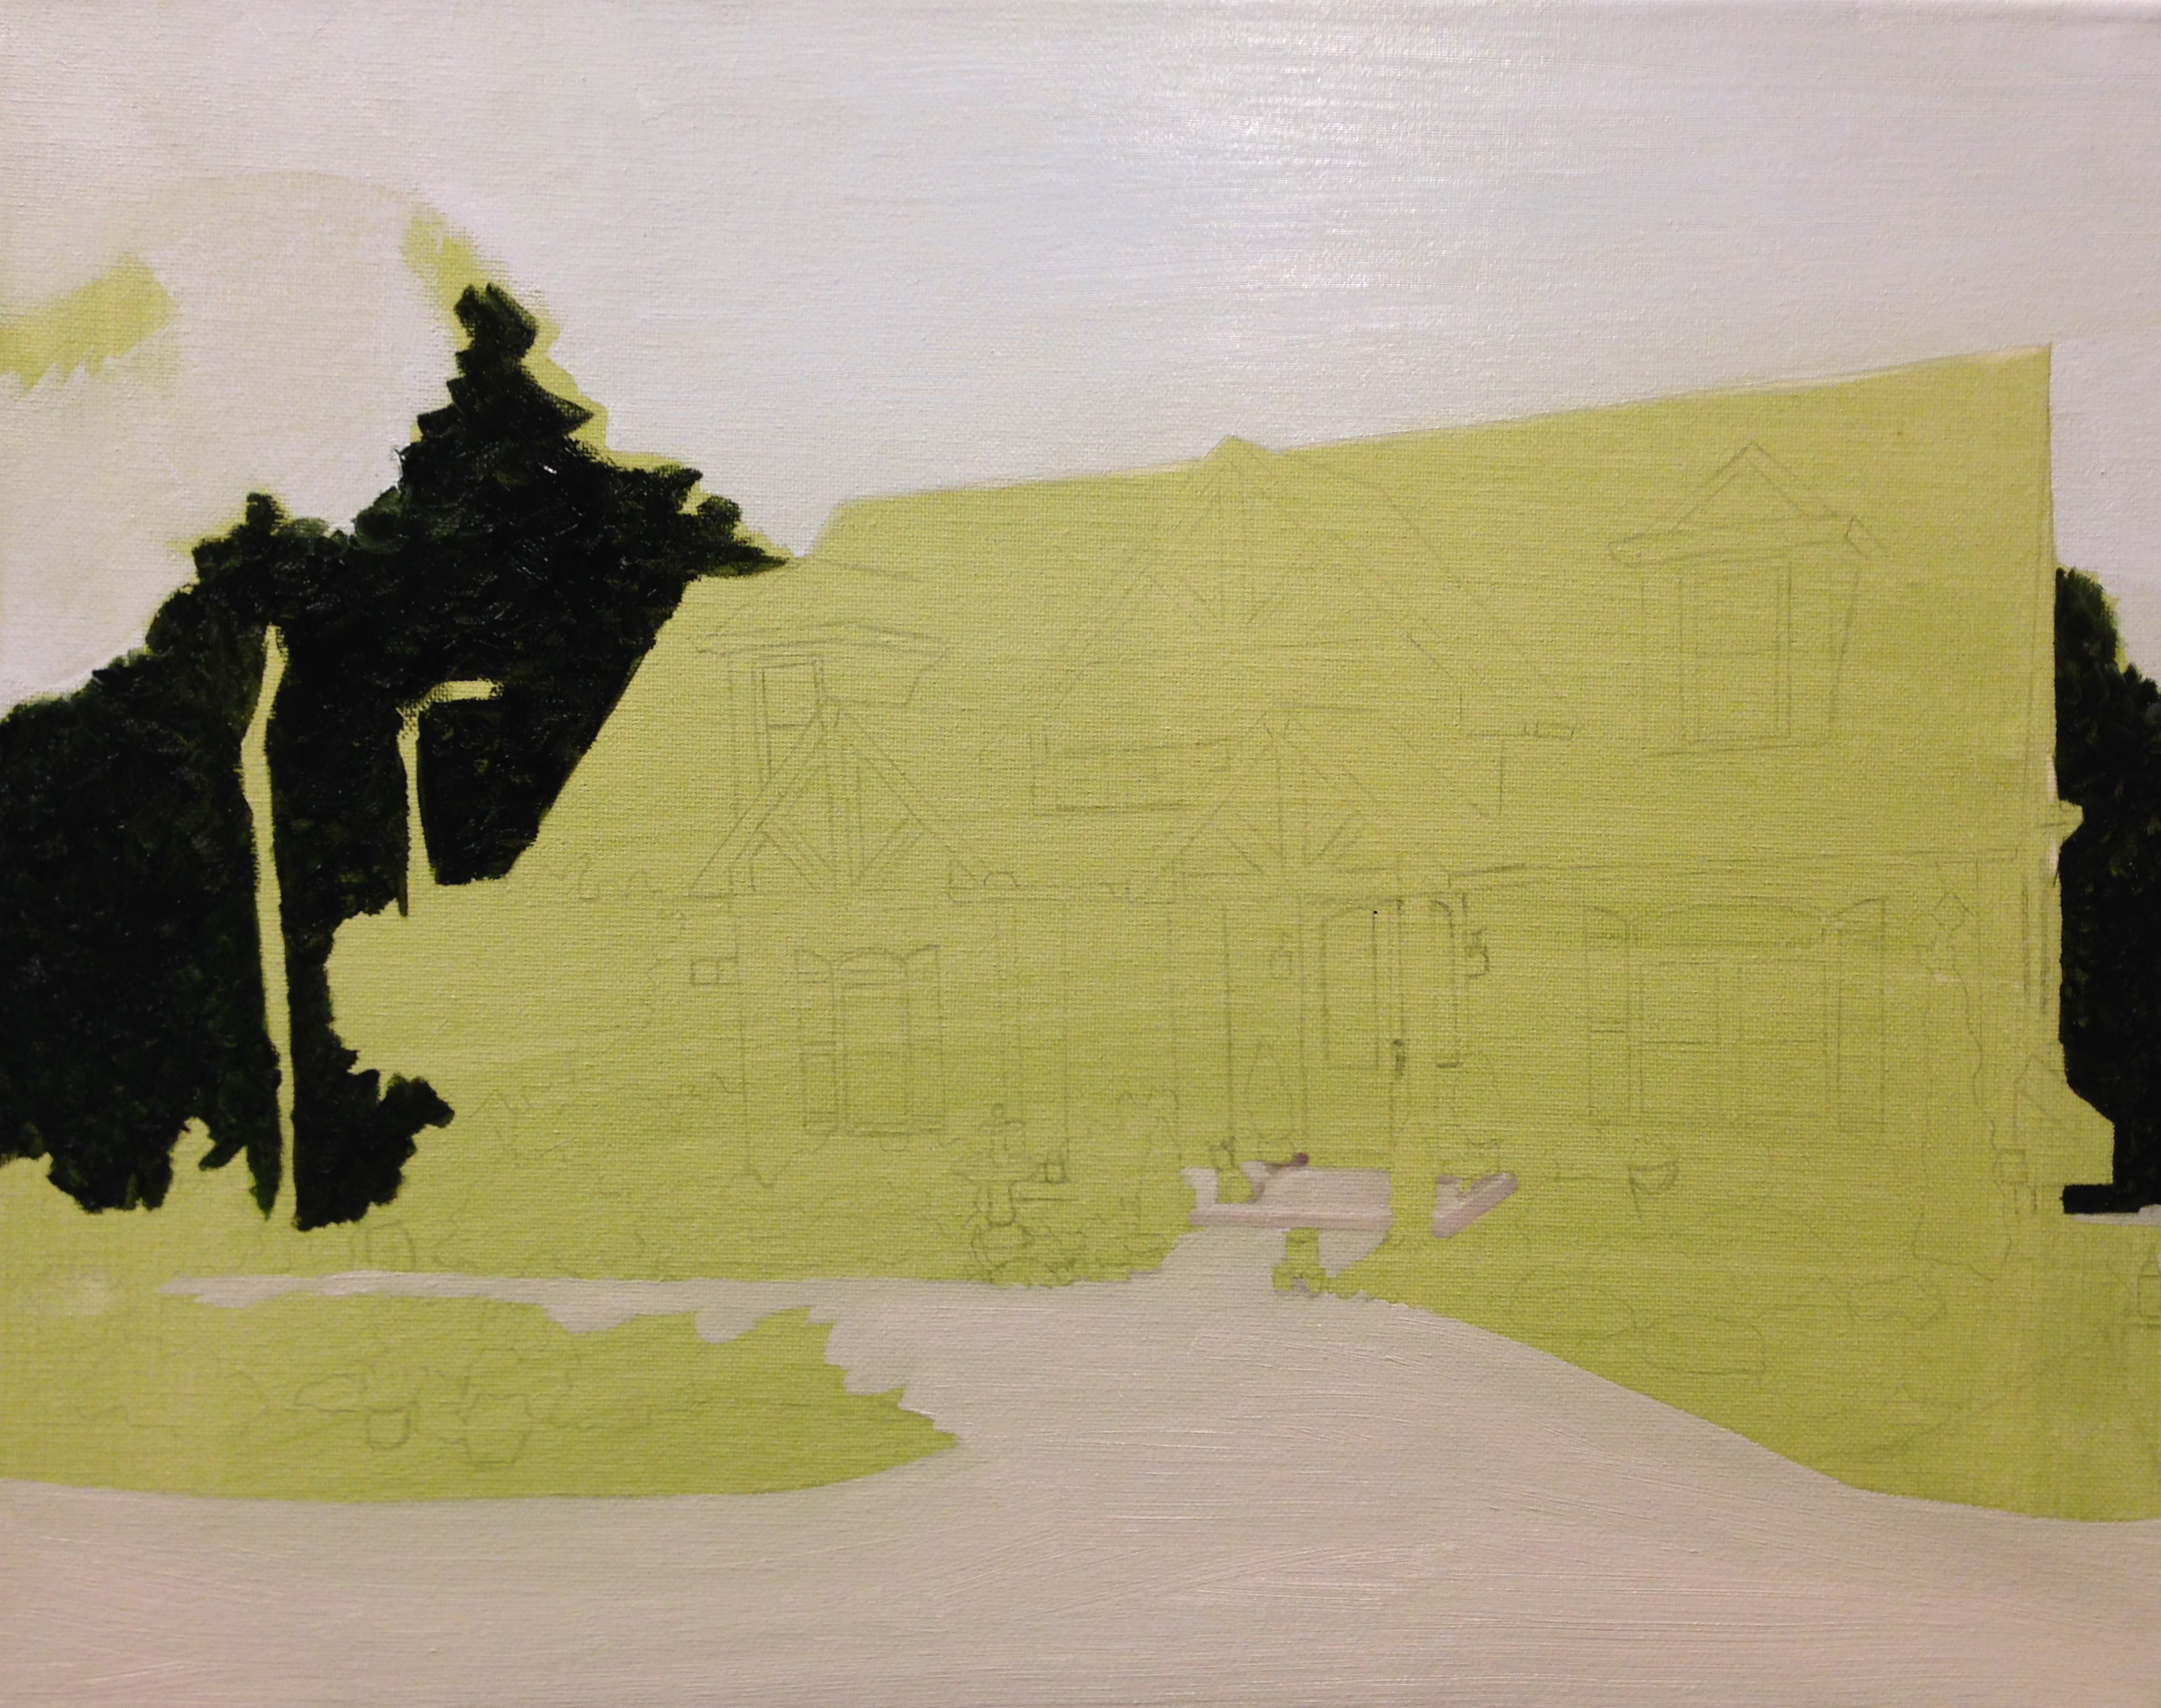
Phase 3
Phase 4: I added in the mid-tone greens to the trees.
Phase 4
Phase 5: I began on the roof. By and large, the roof was the most challenging and time consuming portion of this painting. I opted to mix up about 4-5 colors for various shades of shingles and painted each one individually, taking extra care to adjust the angle and size accordingly.
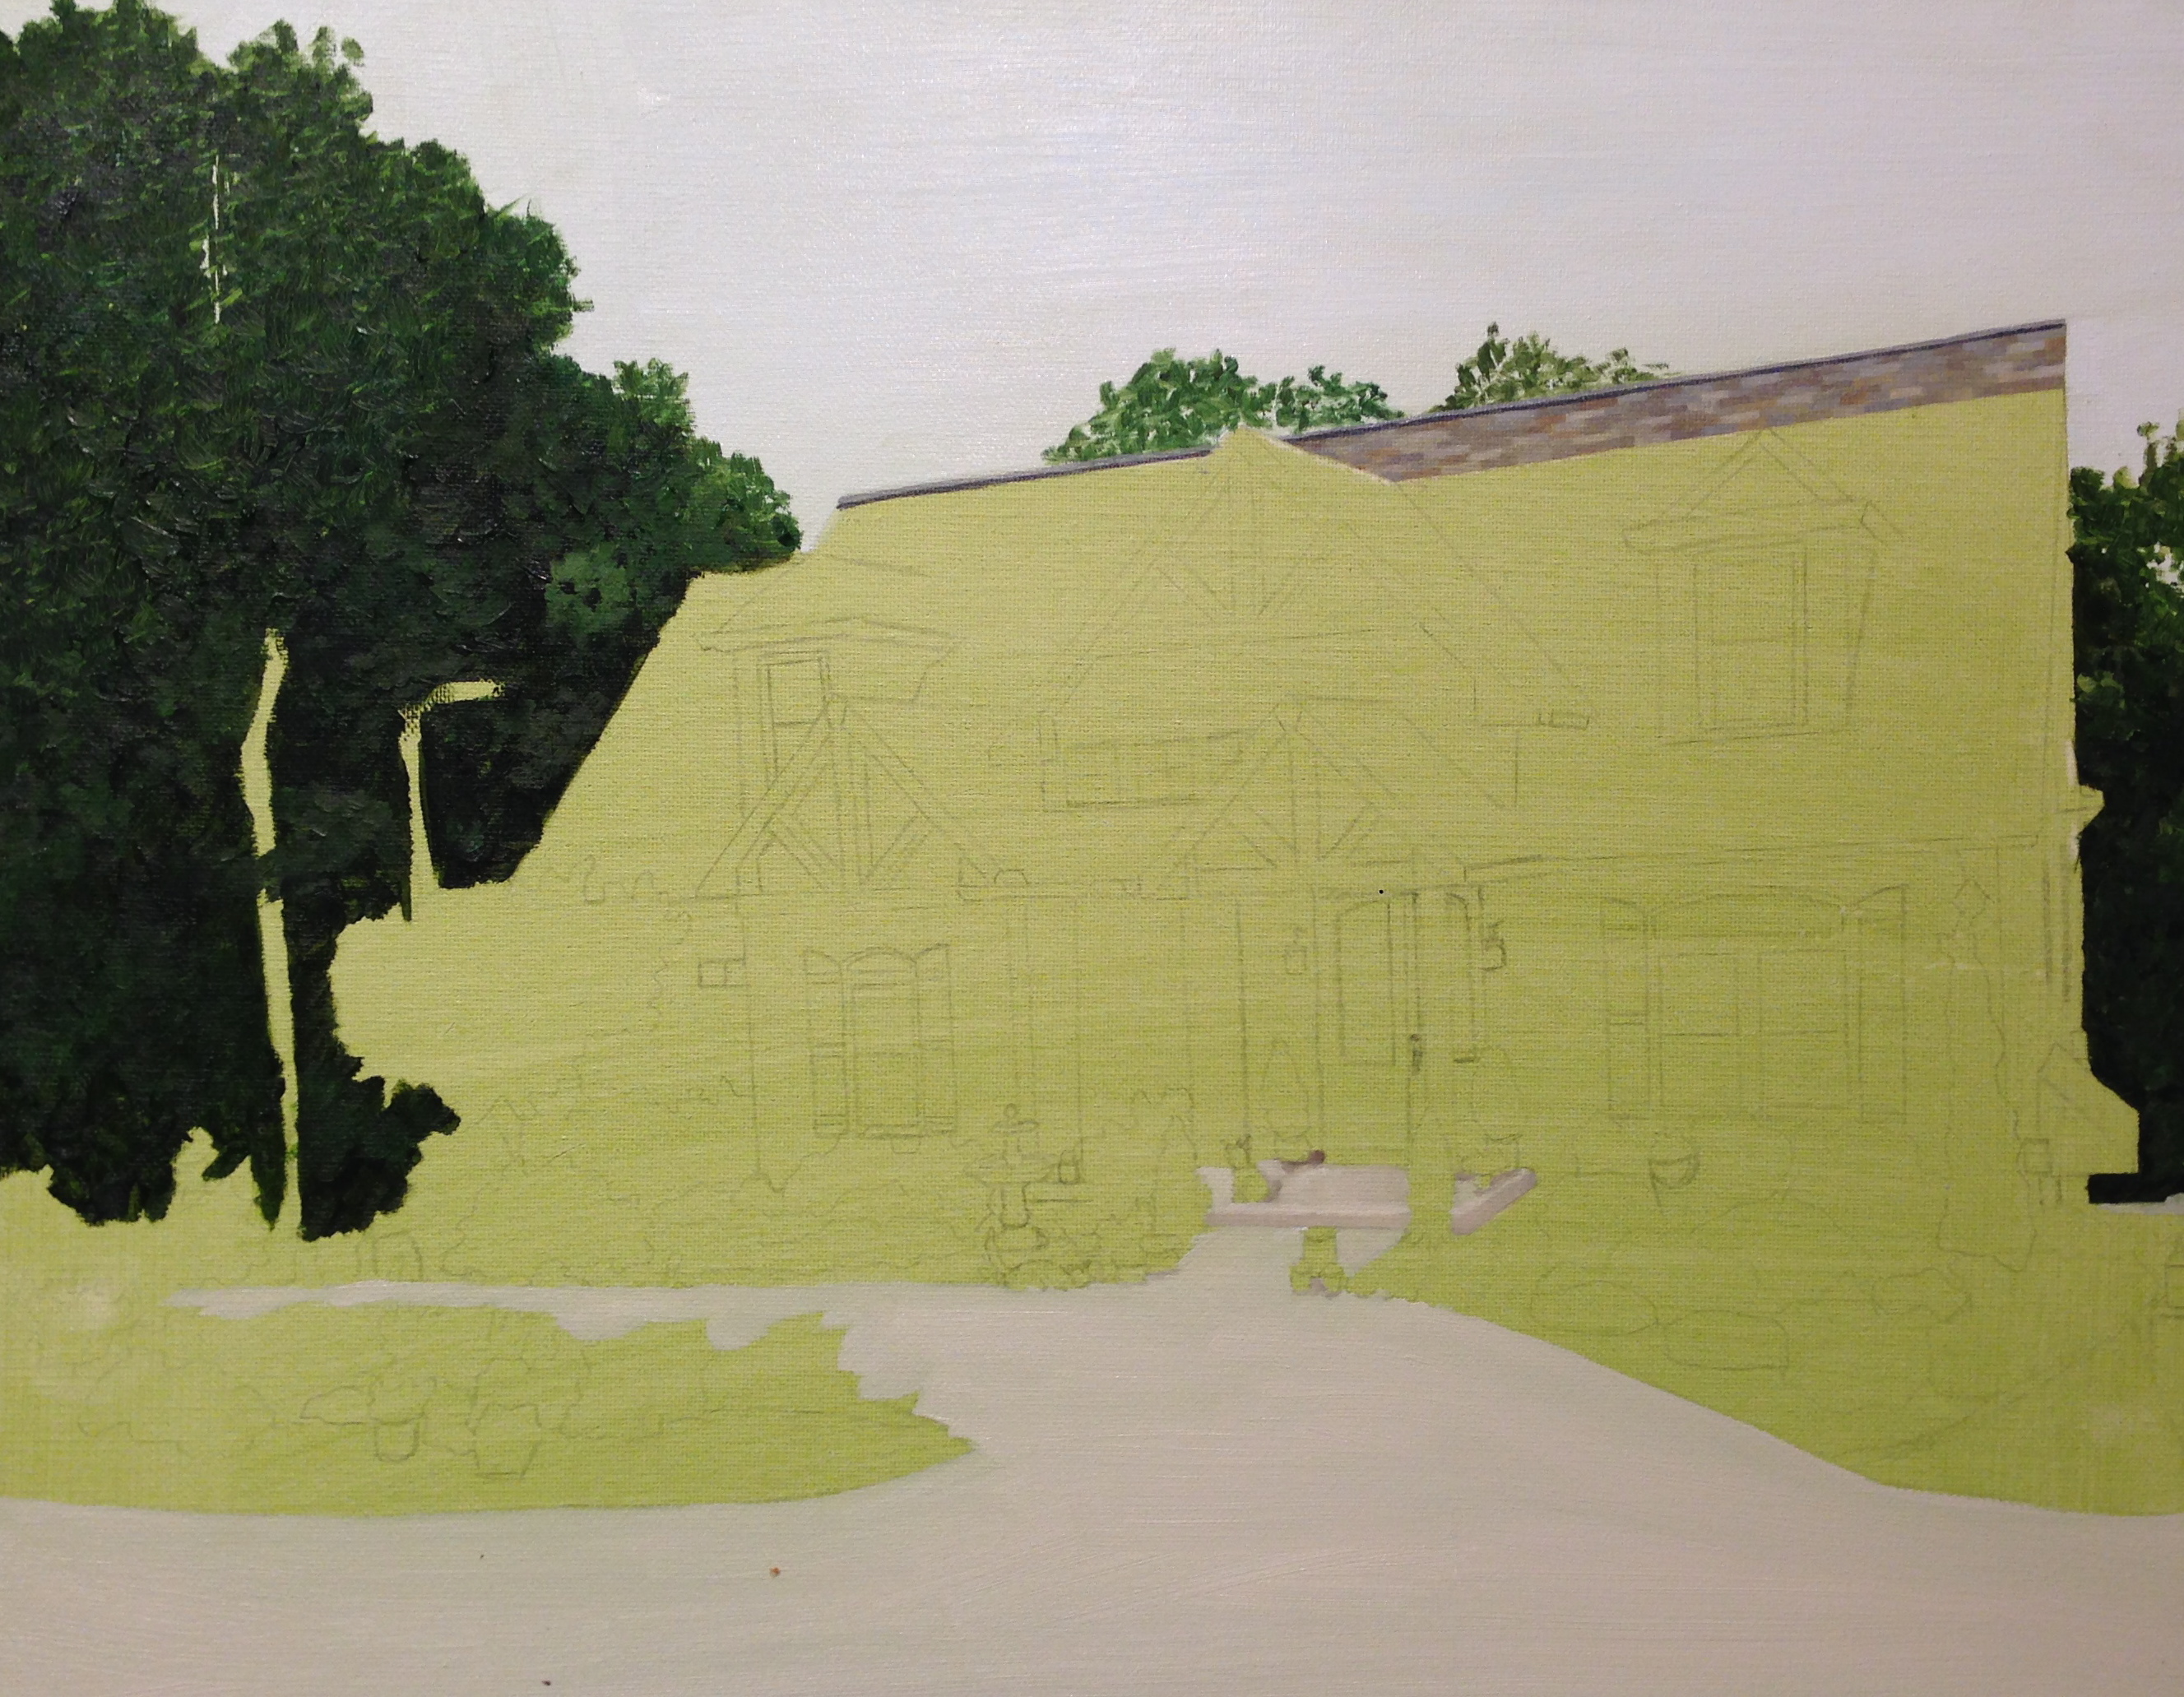
Phase 5
Phase 6: Still working on the roof…

Phase 6
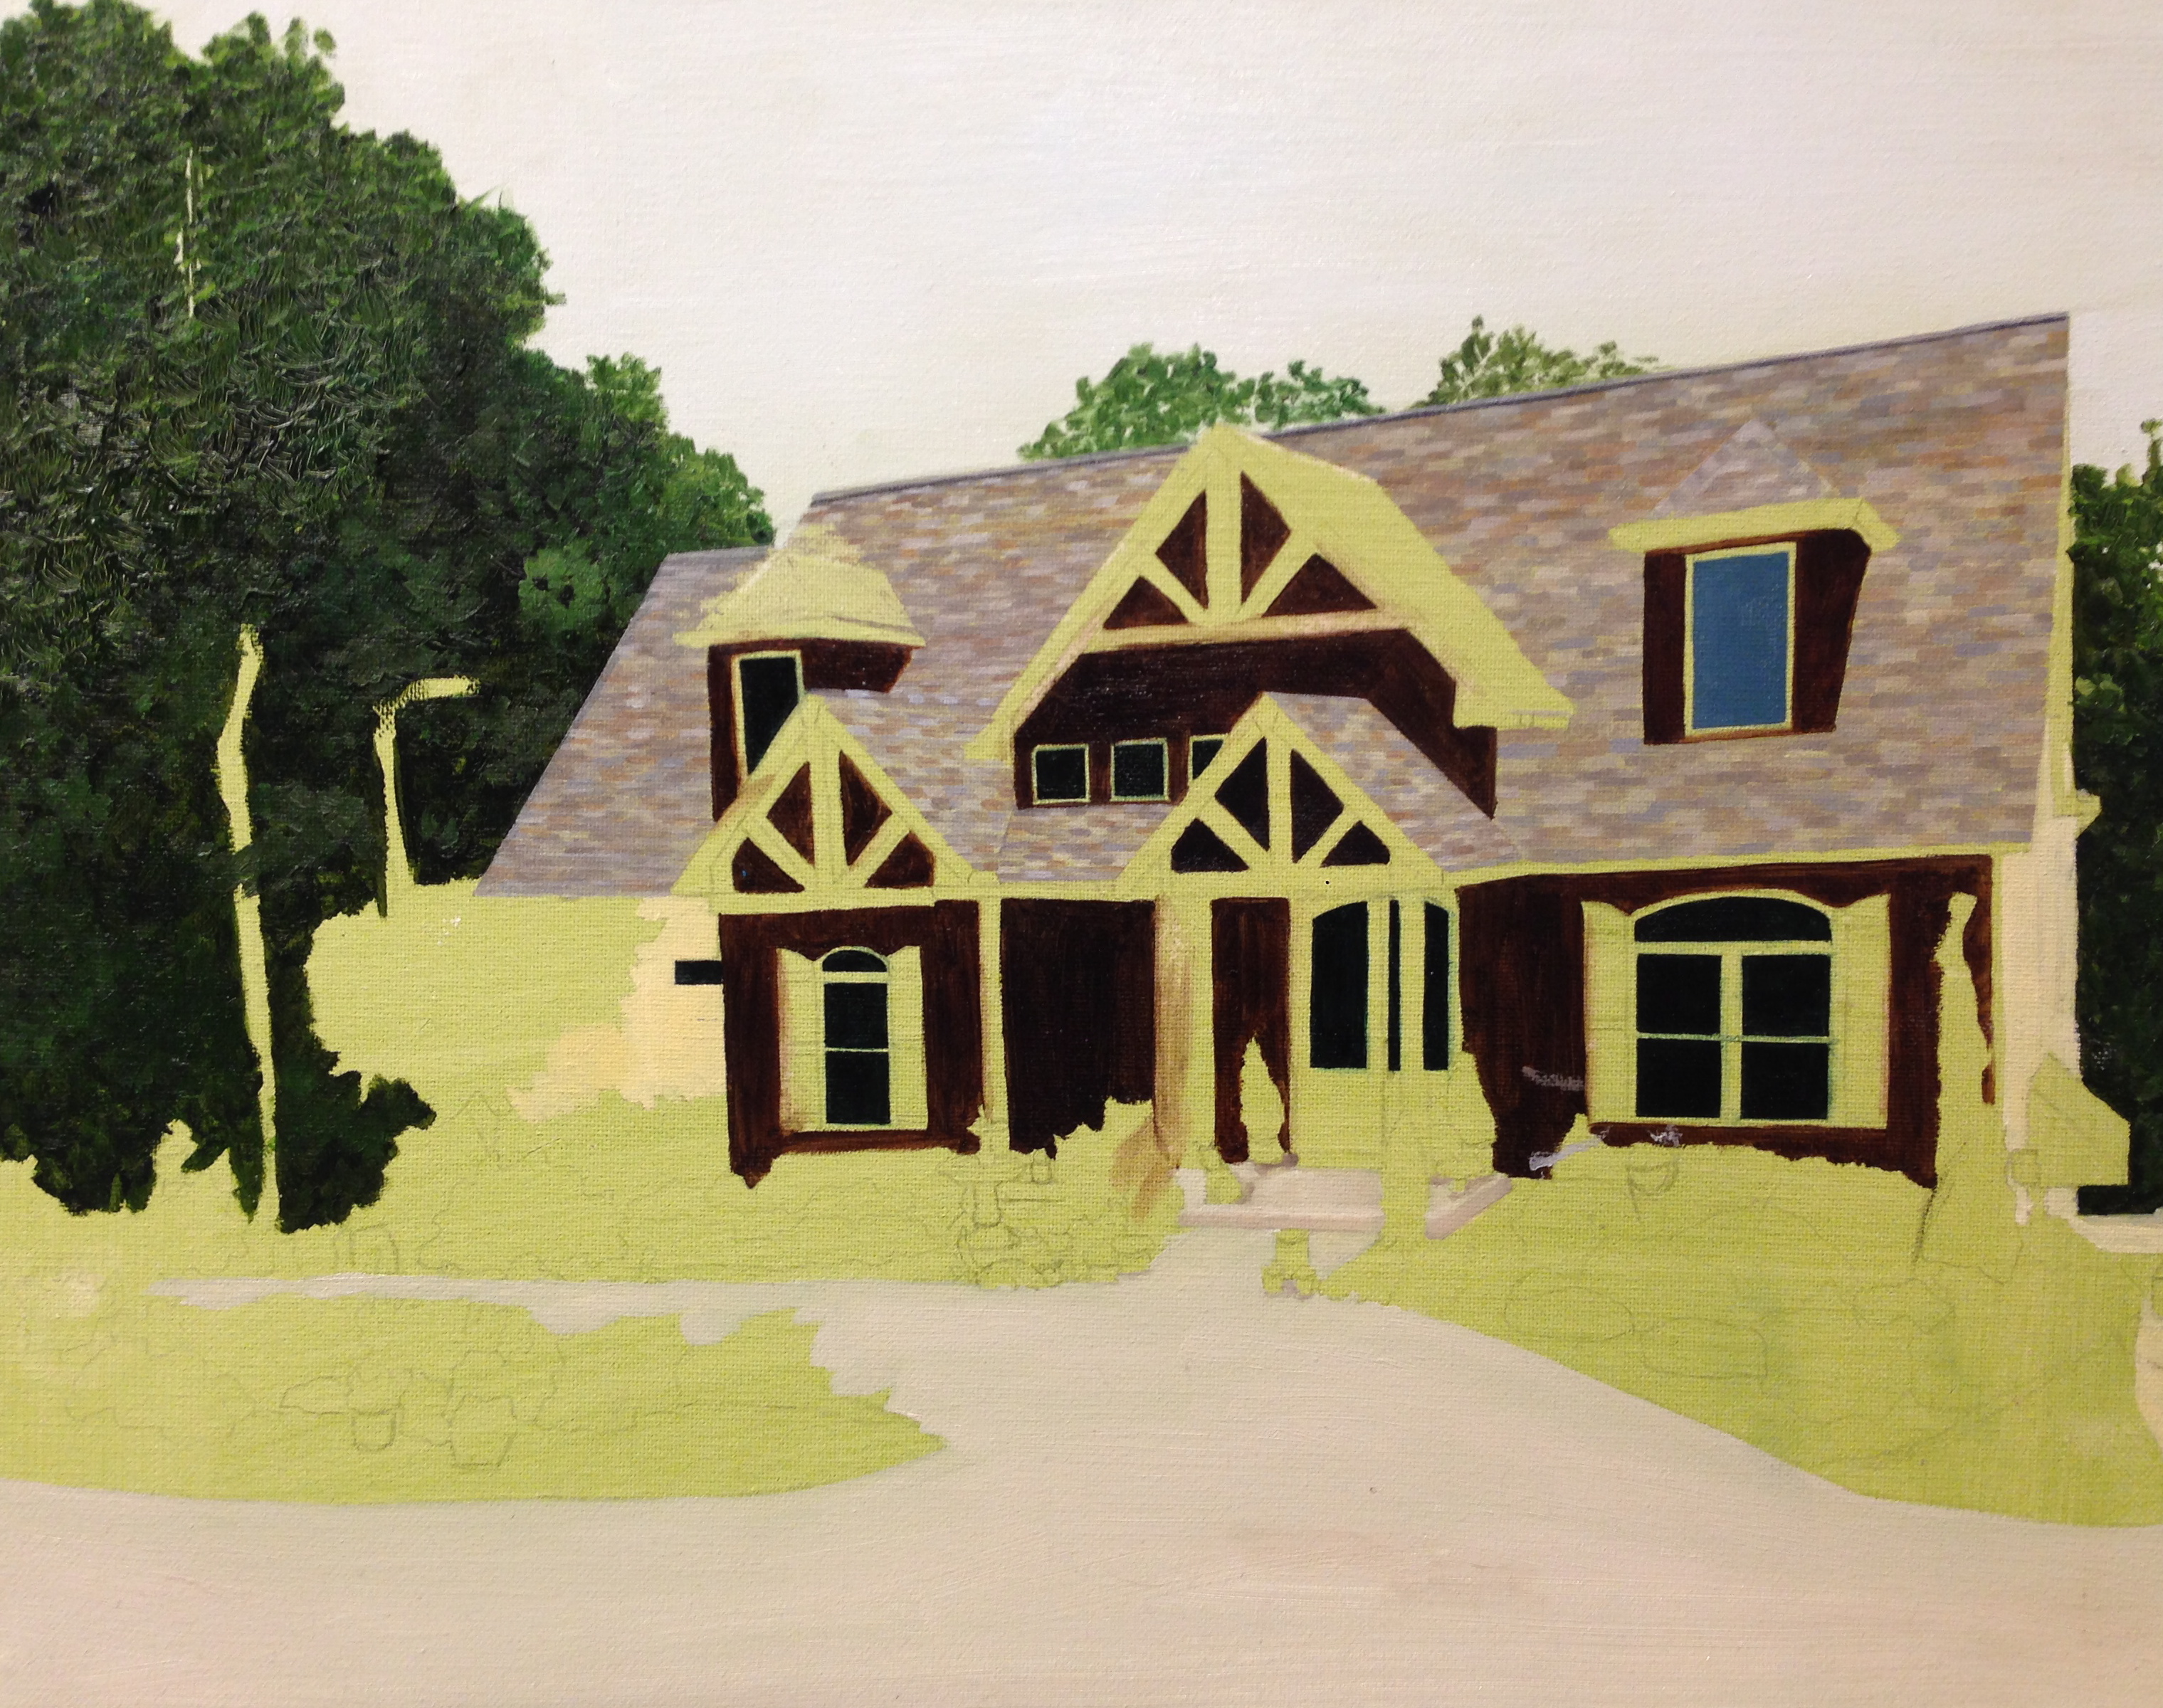
Phase 7: I needed a break from the roof! As you can see, I painted the areas of stonework and brick with an under color – burnt umber mixed with french ultramarine (which creates a very dark brown) for the stonework and naples yellow for the brickwork. You’ll see why I did this in later phases.

Phase 7
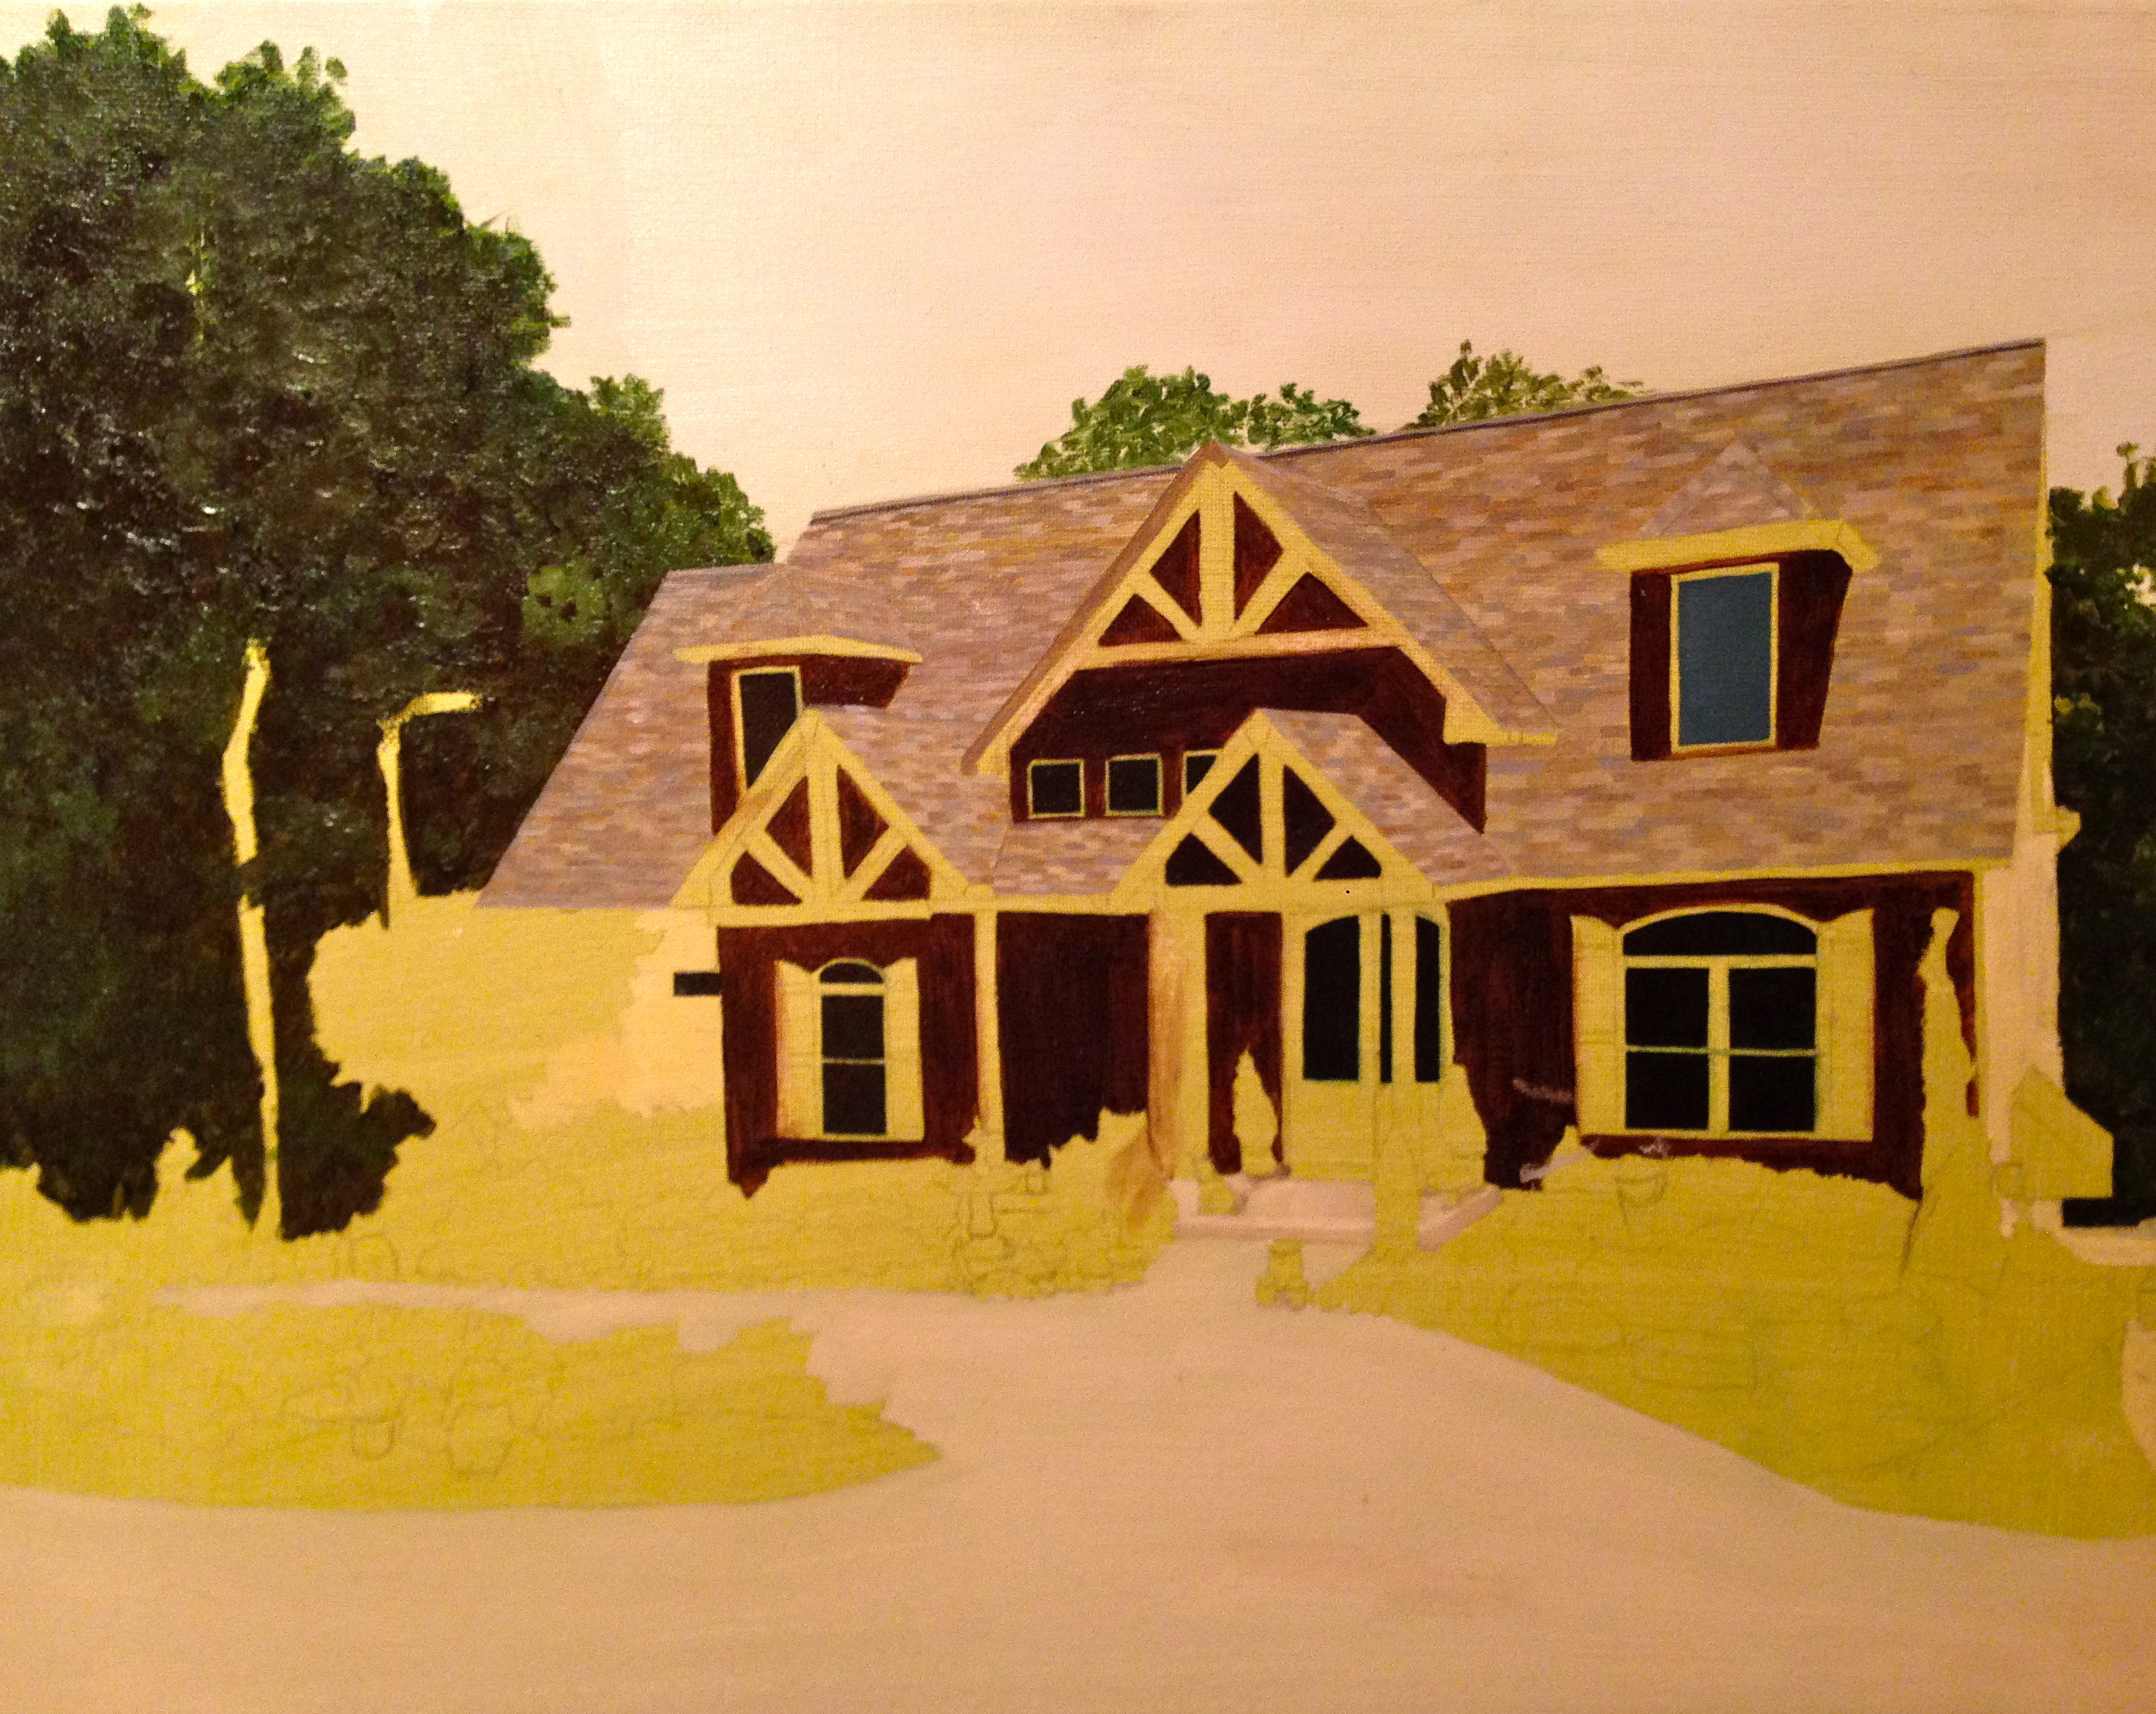
Phases 8 & 9: More roofing…
Phase 8
Phase 9
Phase 10: More roofing, plus I painted the glass portion of the windows.
Phase 10
Phase 11: I finished the roof!!!!
Phase 11
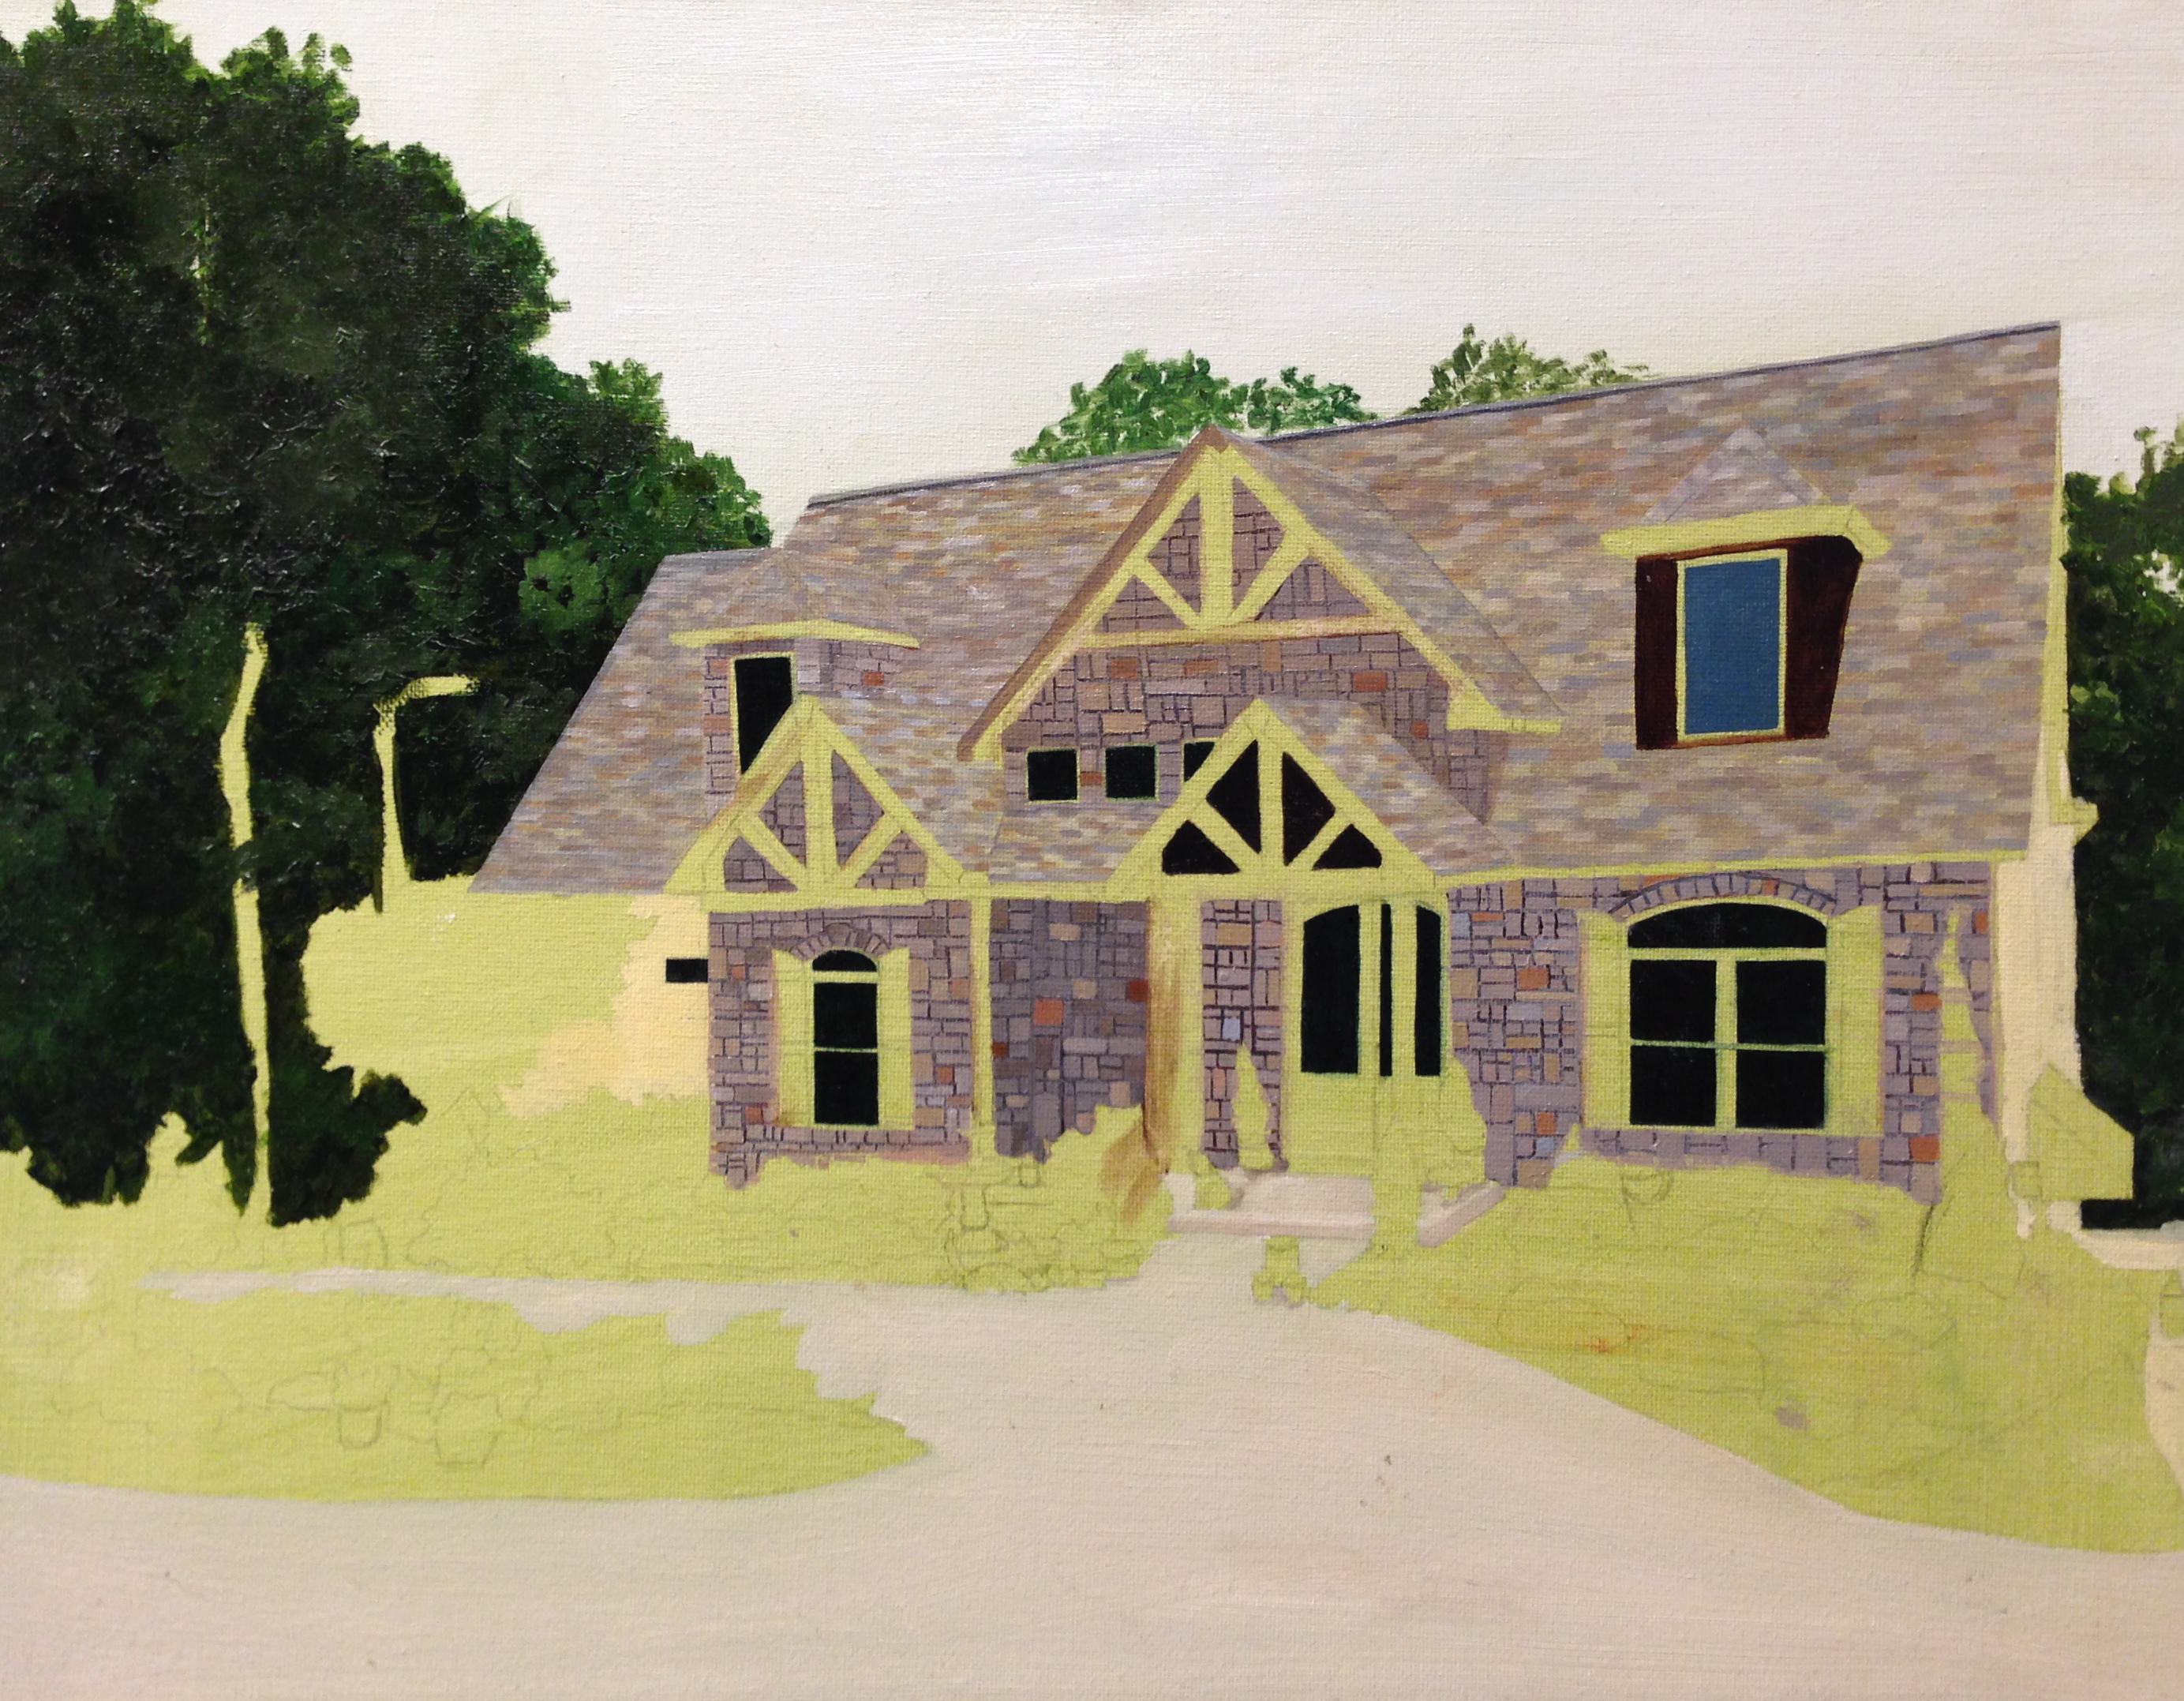
Phase 12: I began on the stonework. I mixed up several colors of paint to match the various shades of stones, then painted over the dark under painting. For the magic touch, I used a scratch off tool (http://www.jerrysartarama.com/discount-art-supplies/brushes-and-palette-knives/amazing-wipe-off-tool.htm) to draw in the shapes of the stones. The top layer of paint (the stone color) was wet, but the dark under color was dry (because it was painted during phase 7) so it showed through in the cracks. If you click on the Phase 12 photo, you can see an enlarged version and zoom into see the detail of the stonework.

Phase 12
Phase 13: Stonework cont…
Phase 13
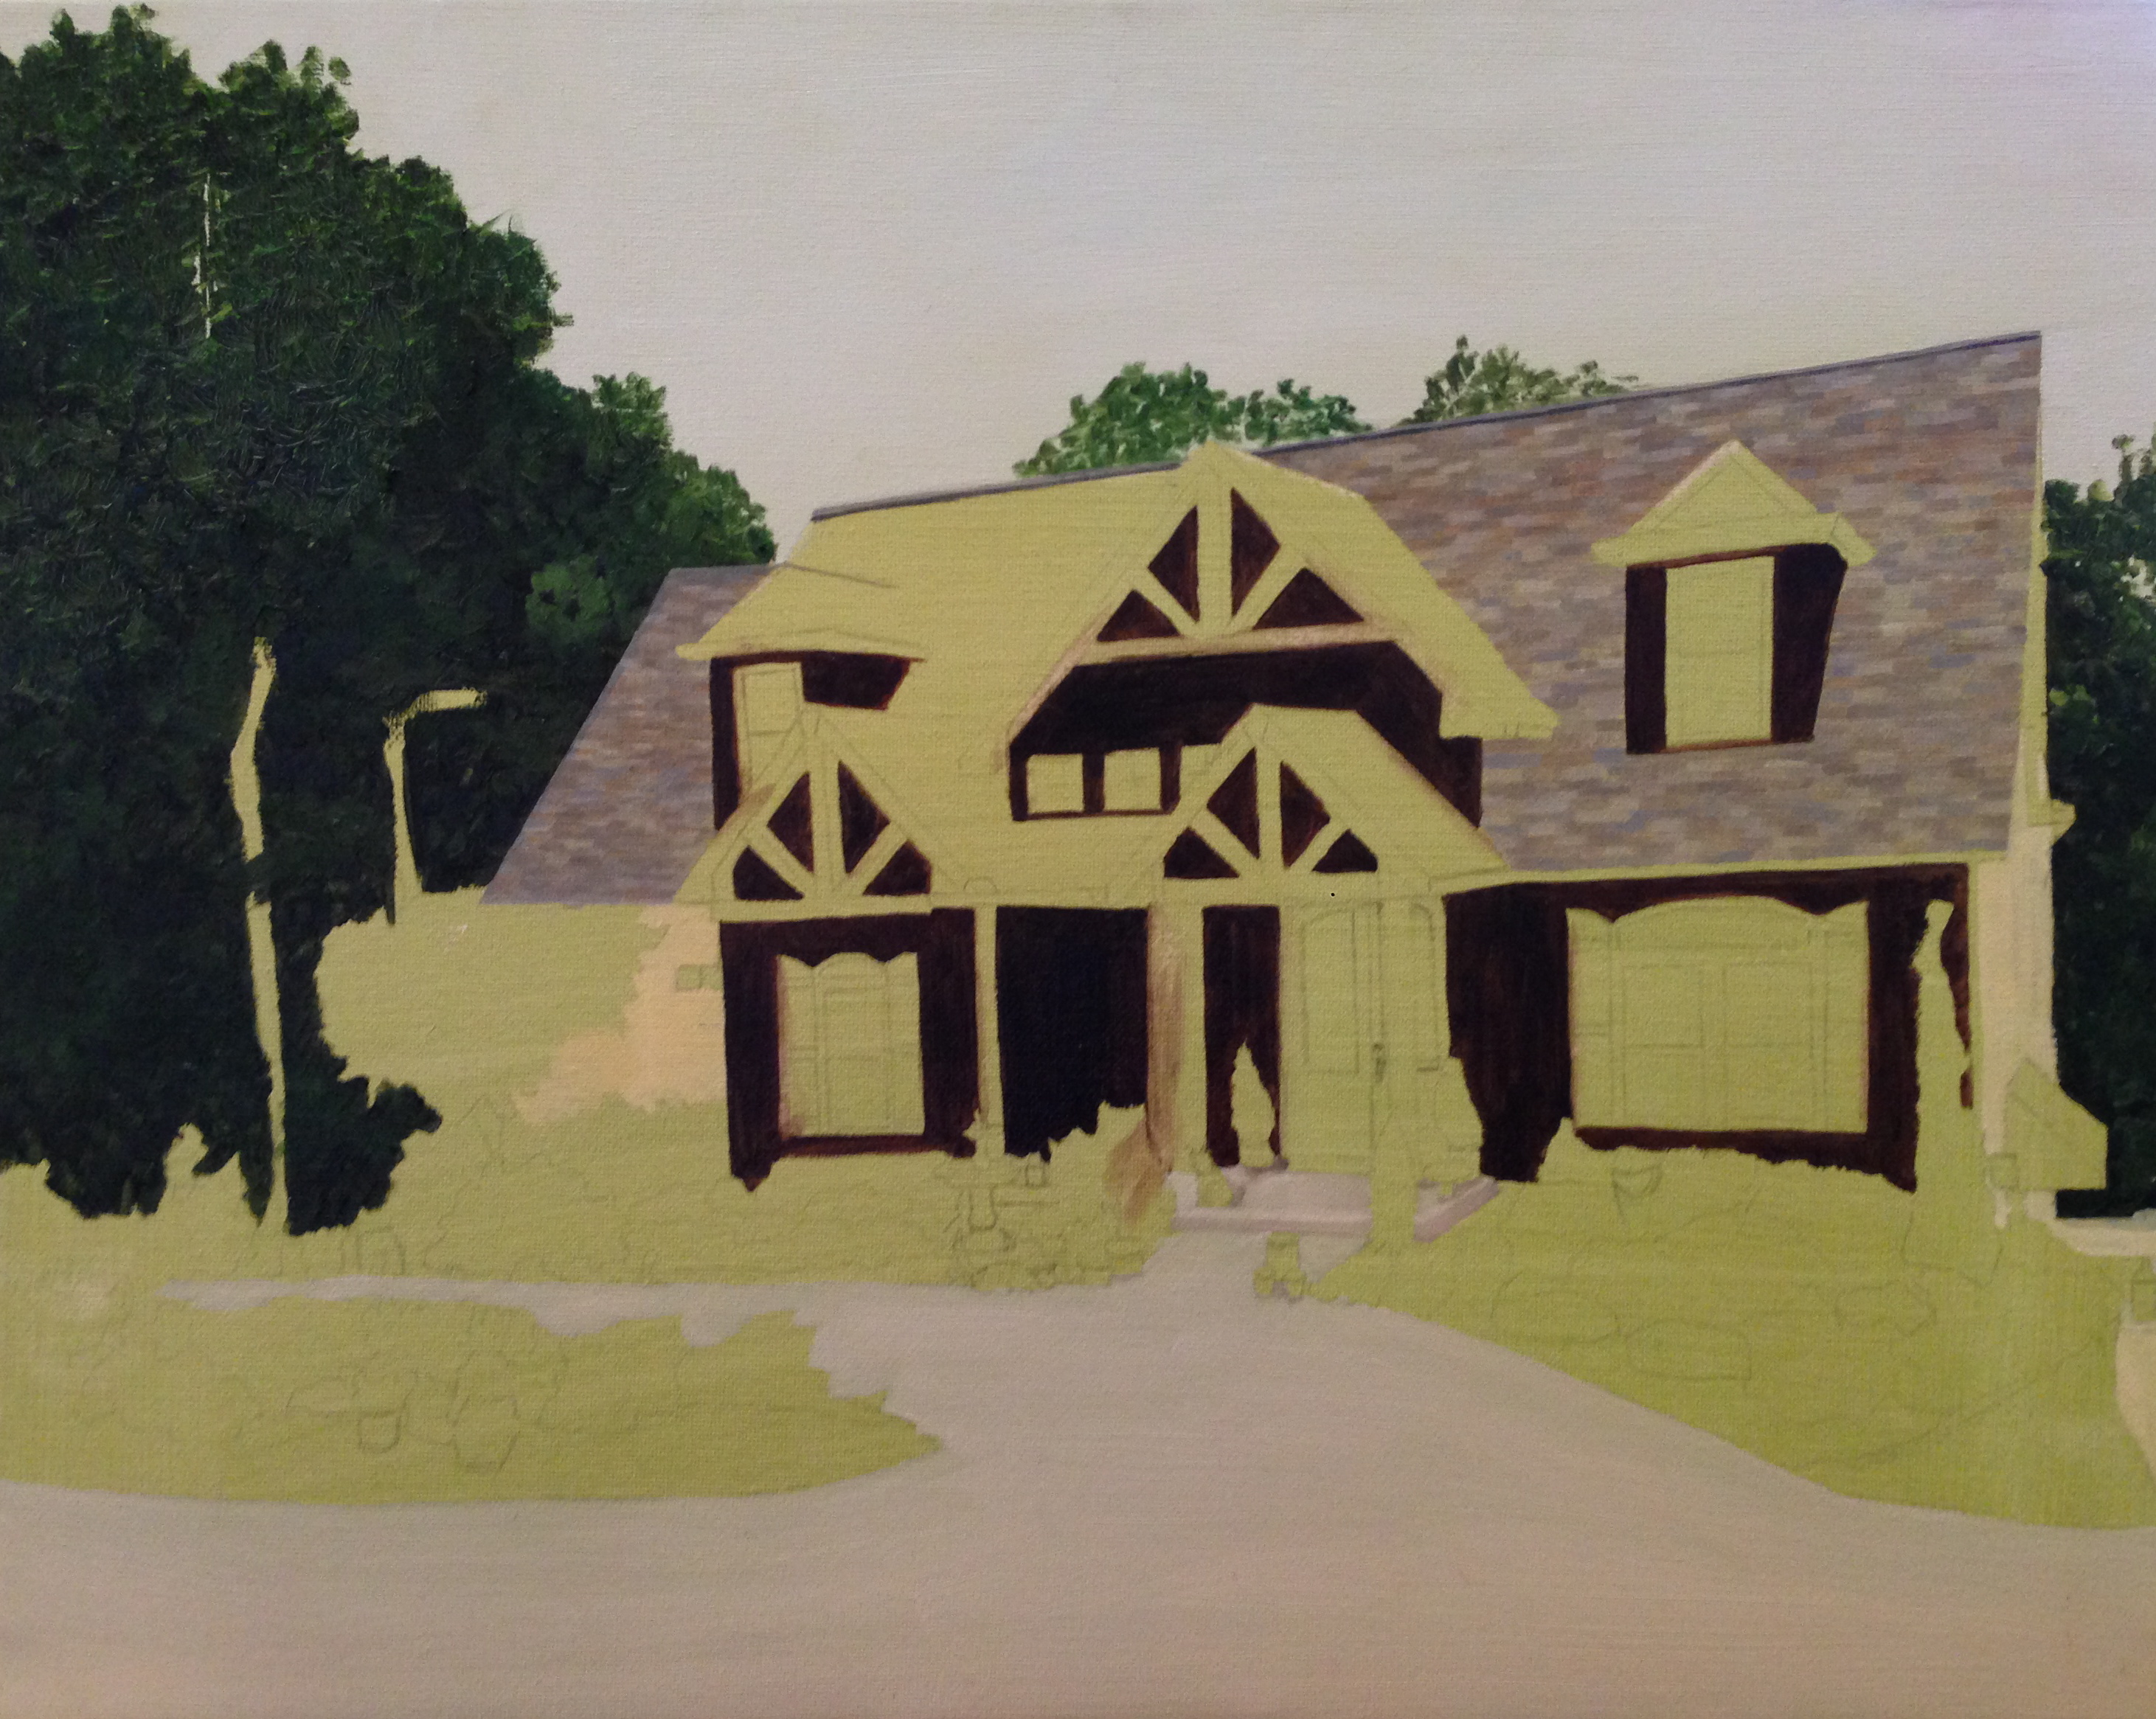
Phase 14: I began painting the wooden beams and shutters.
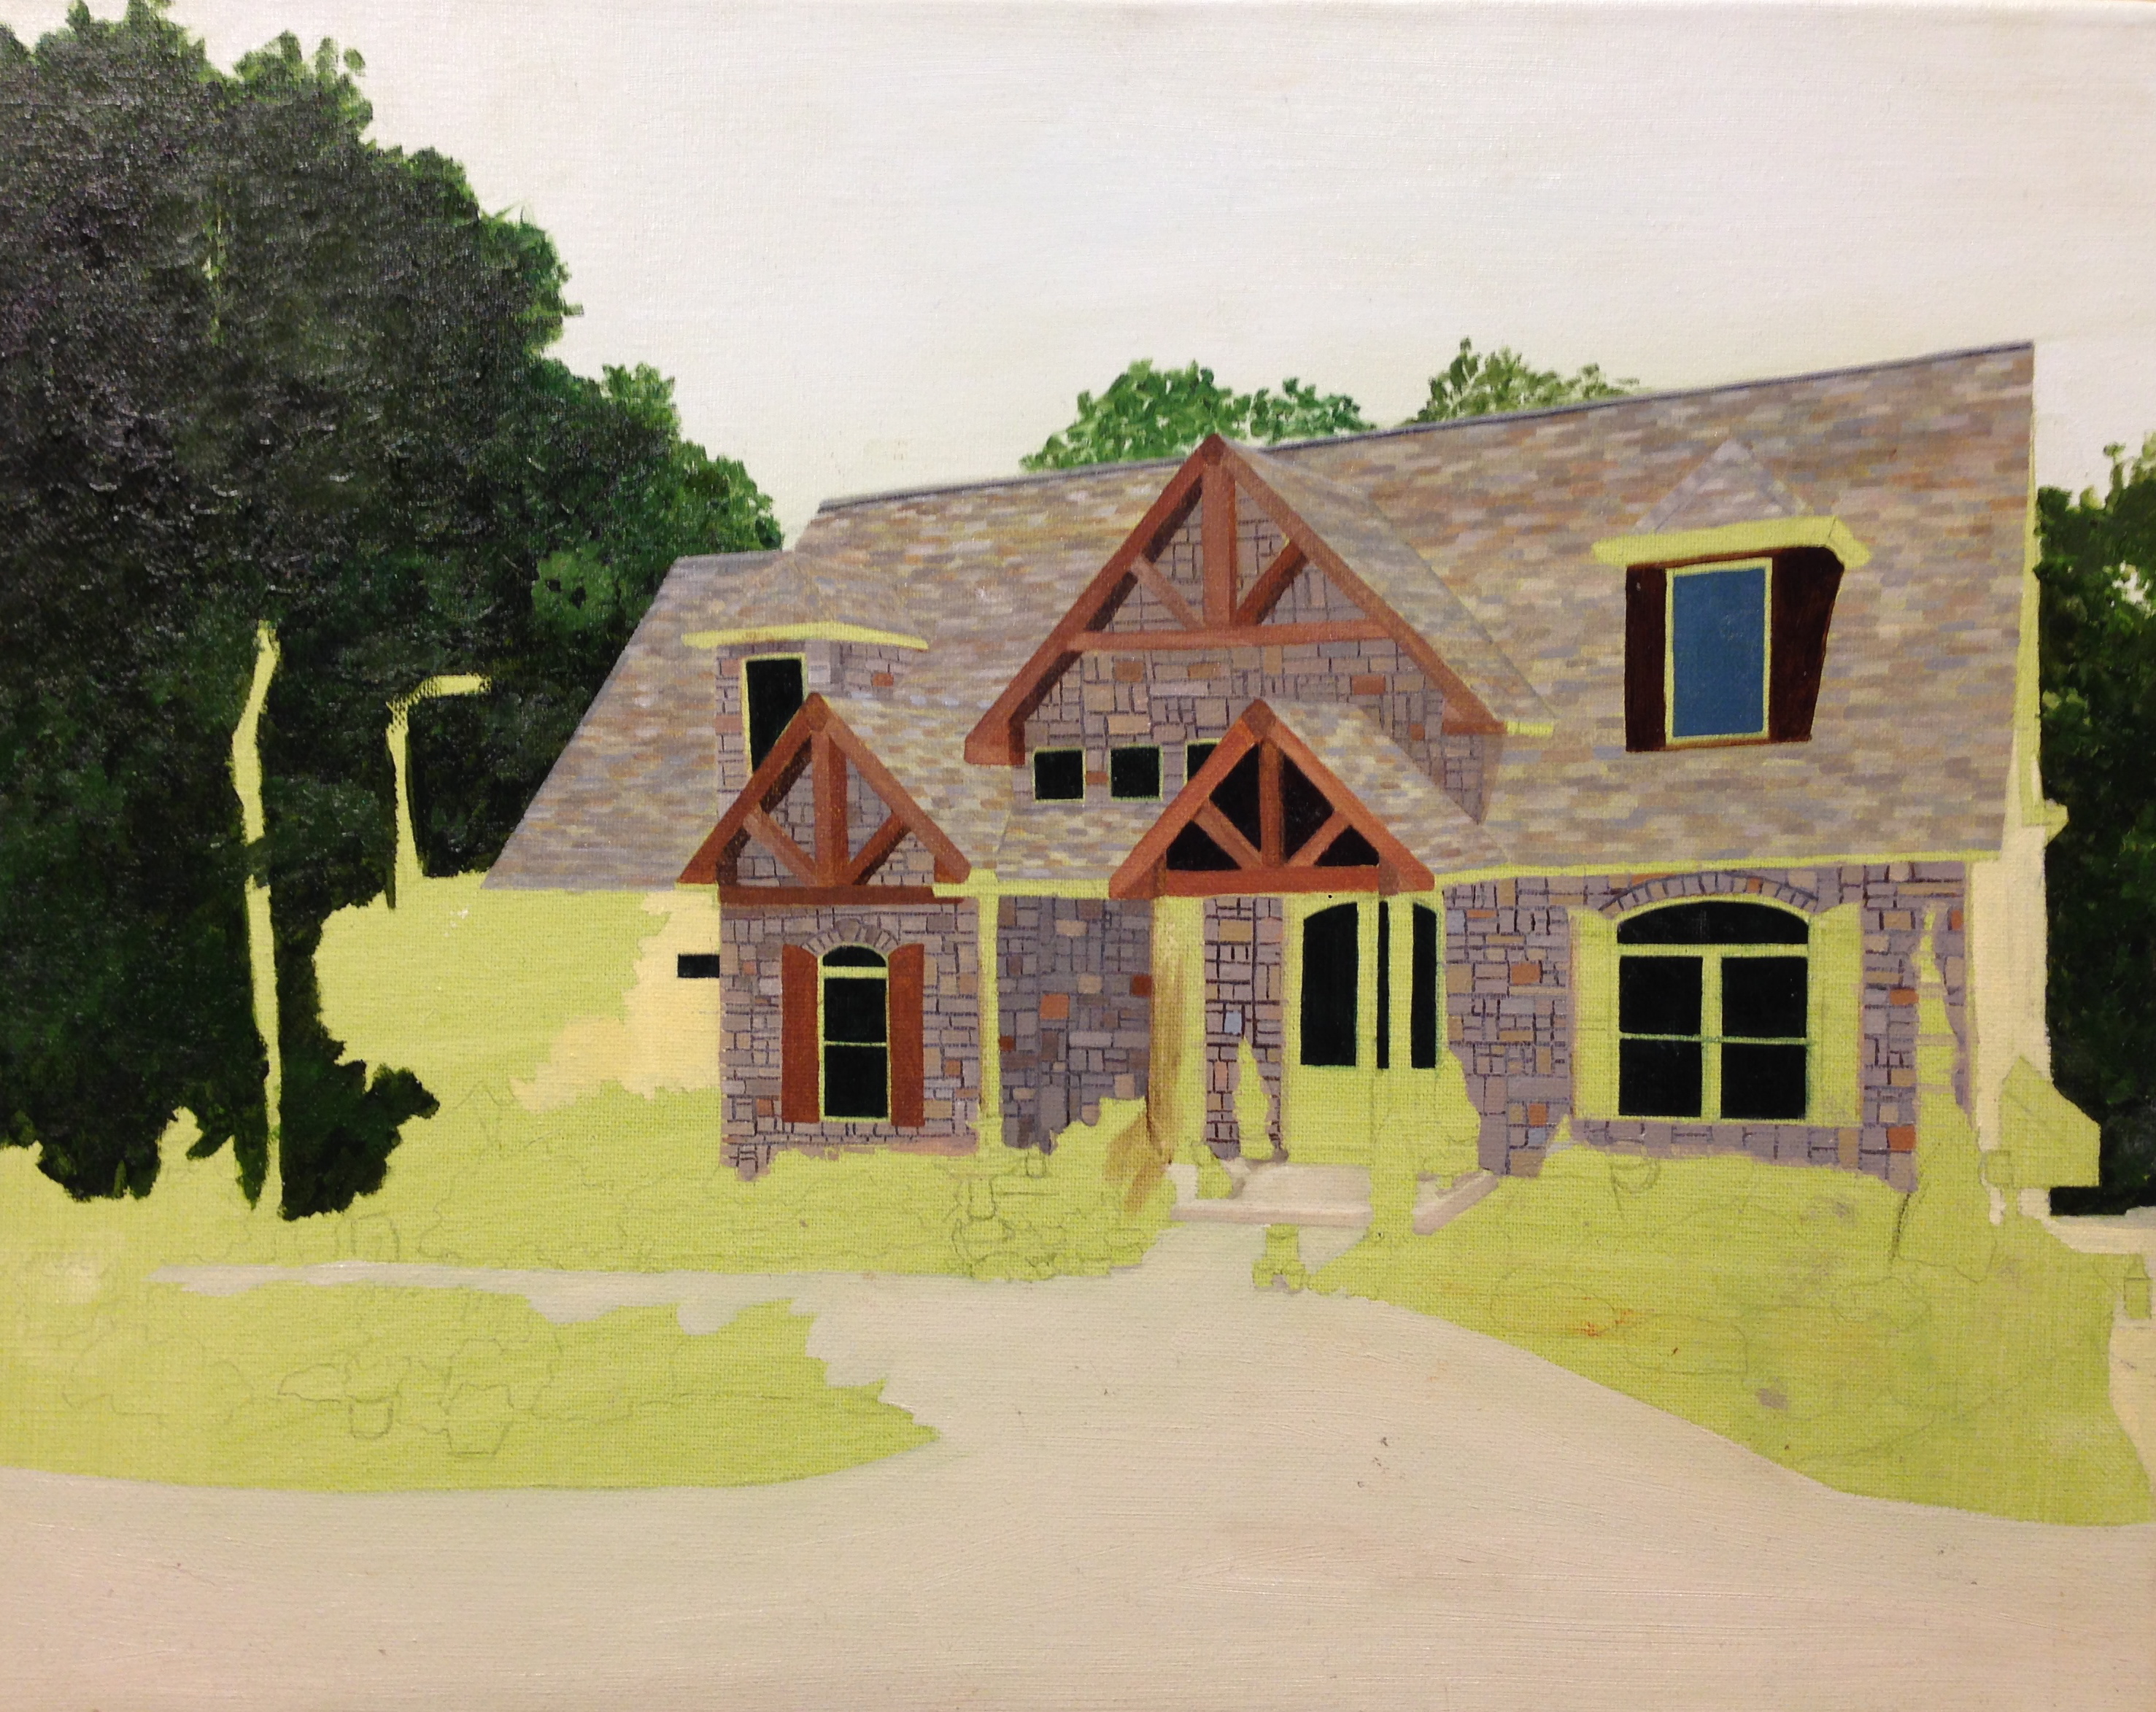
Phase 14
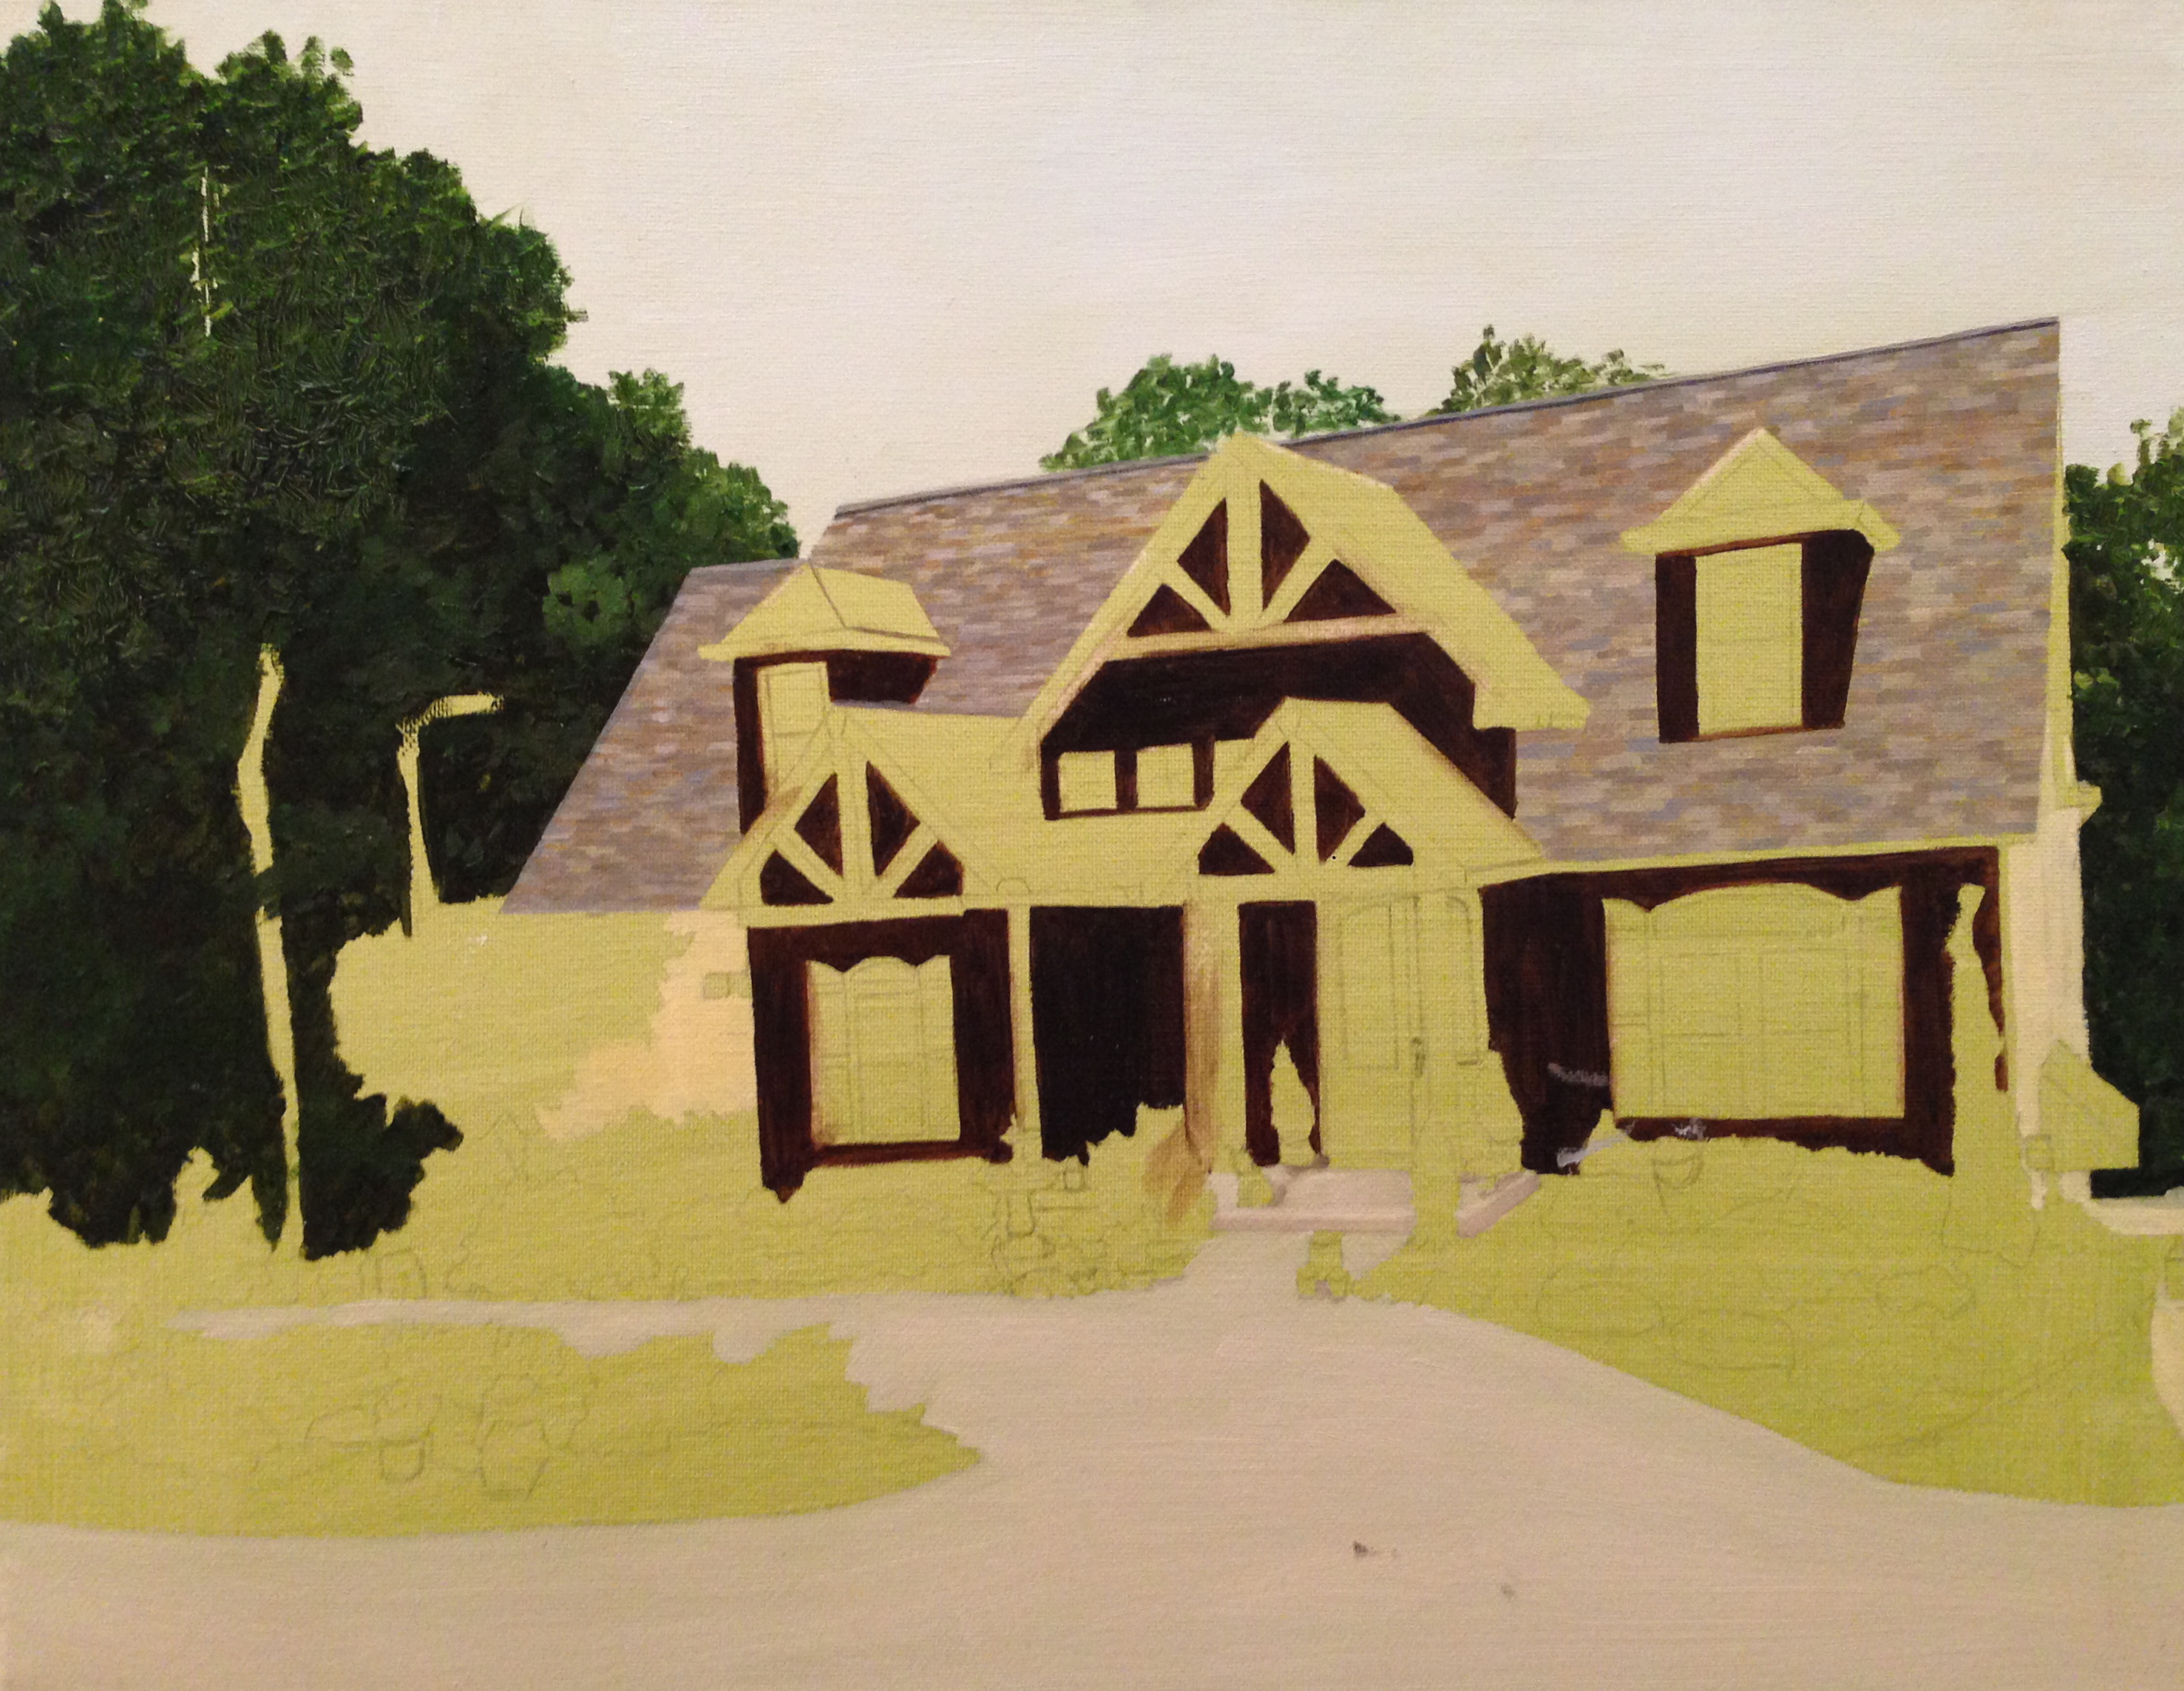
Phase 15: I completed painting the woodwork.
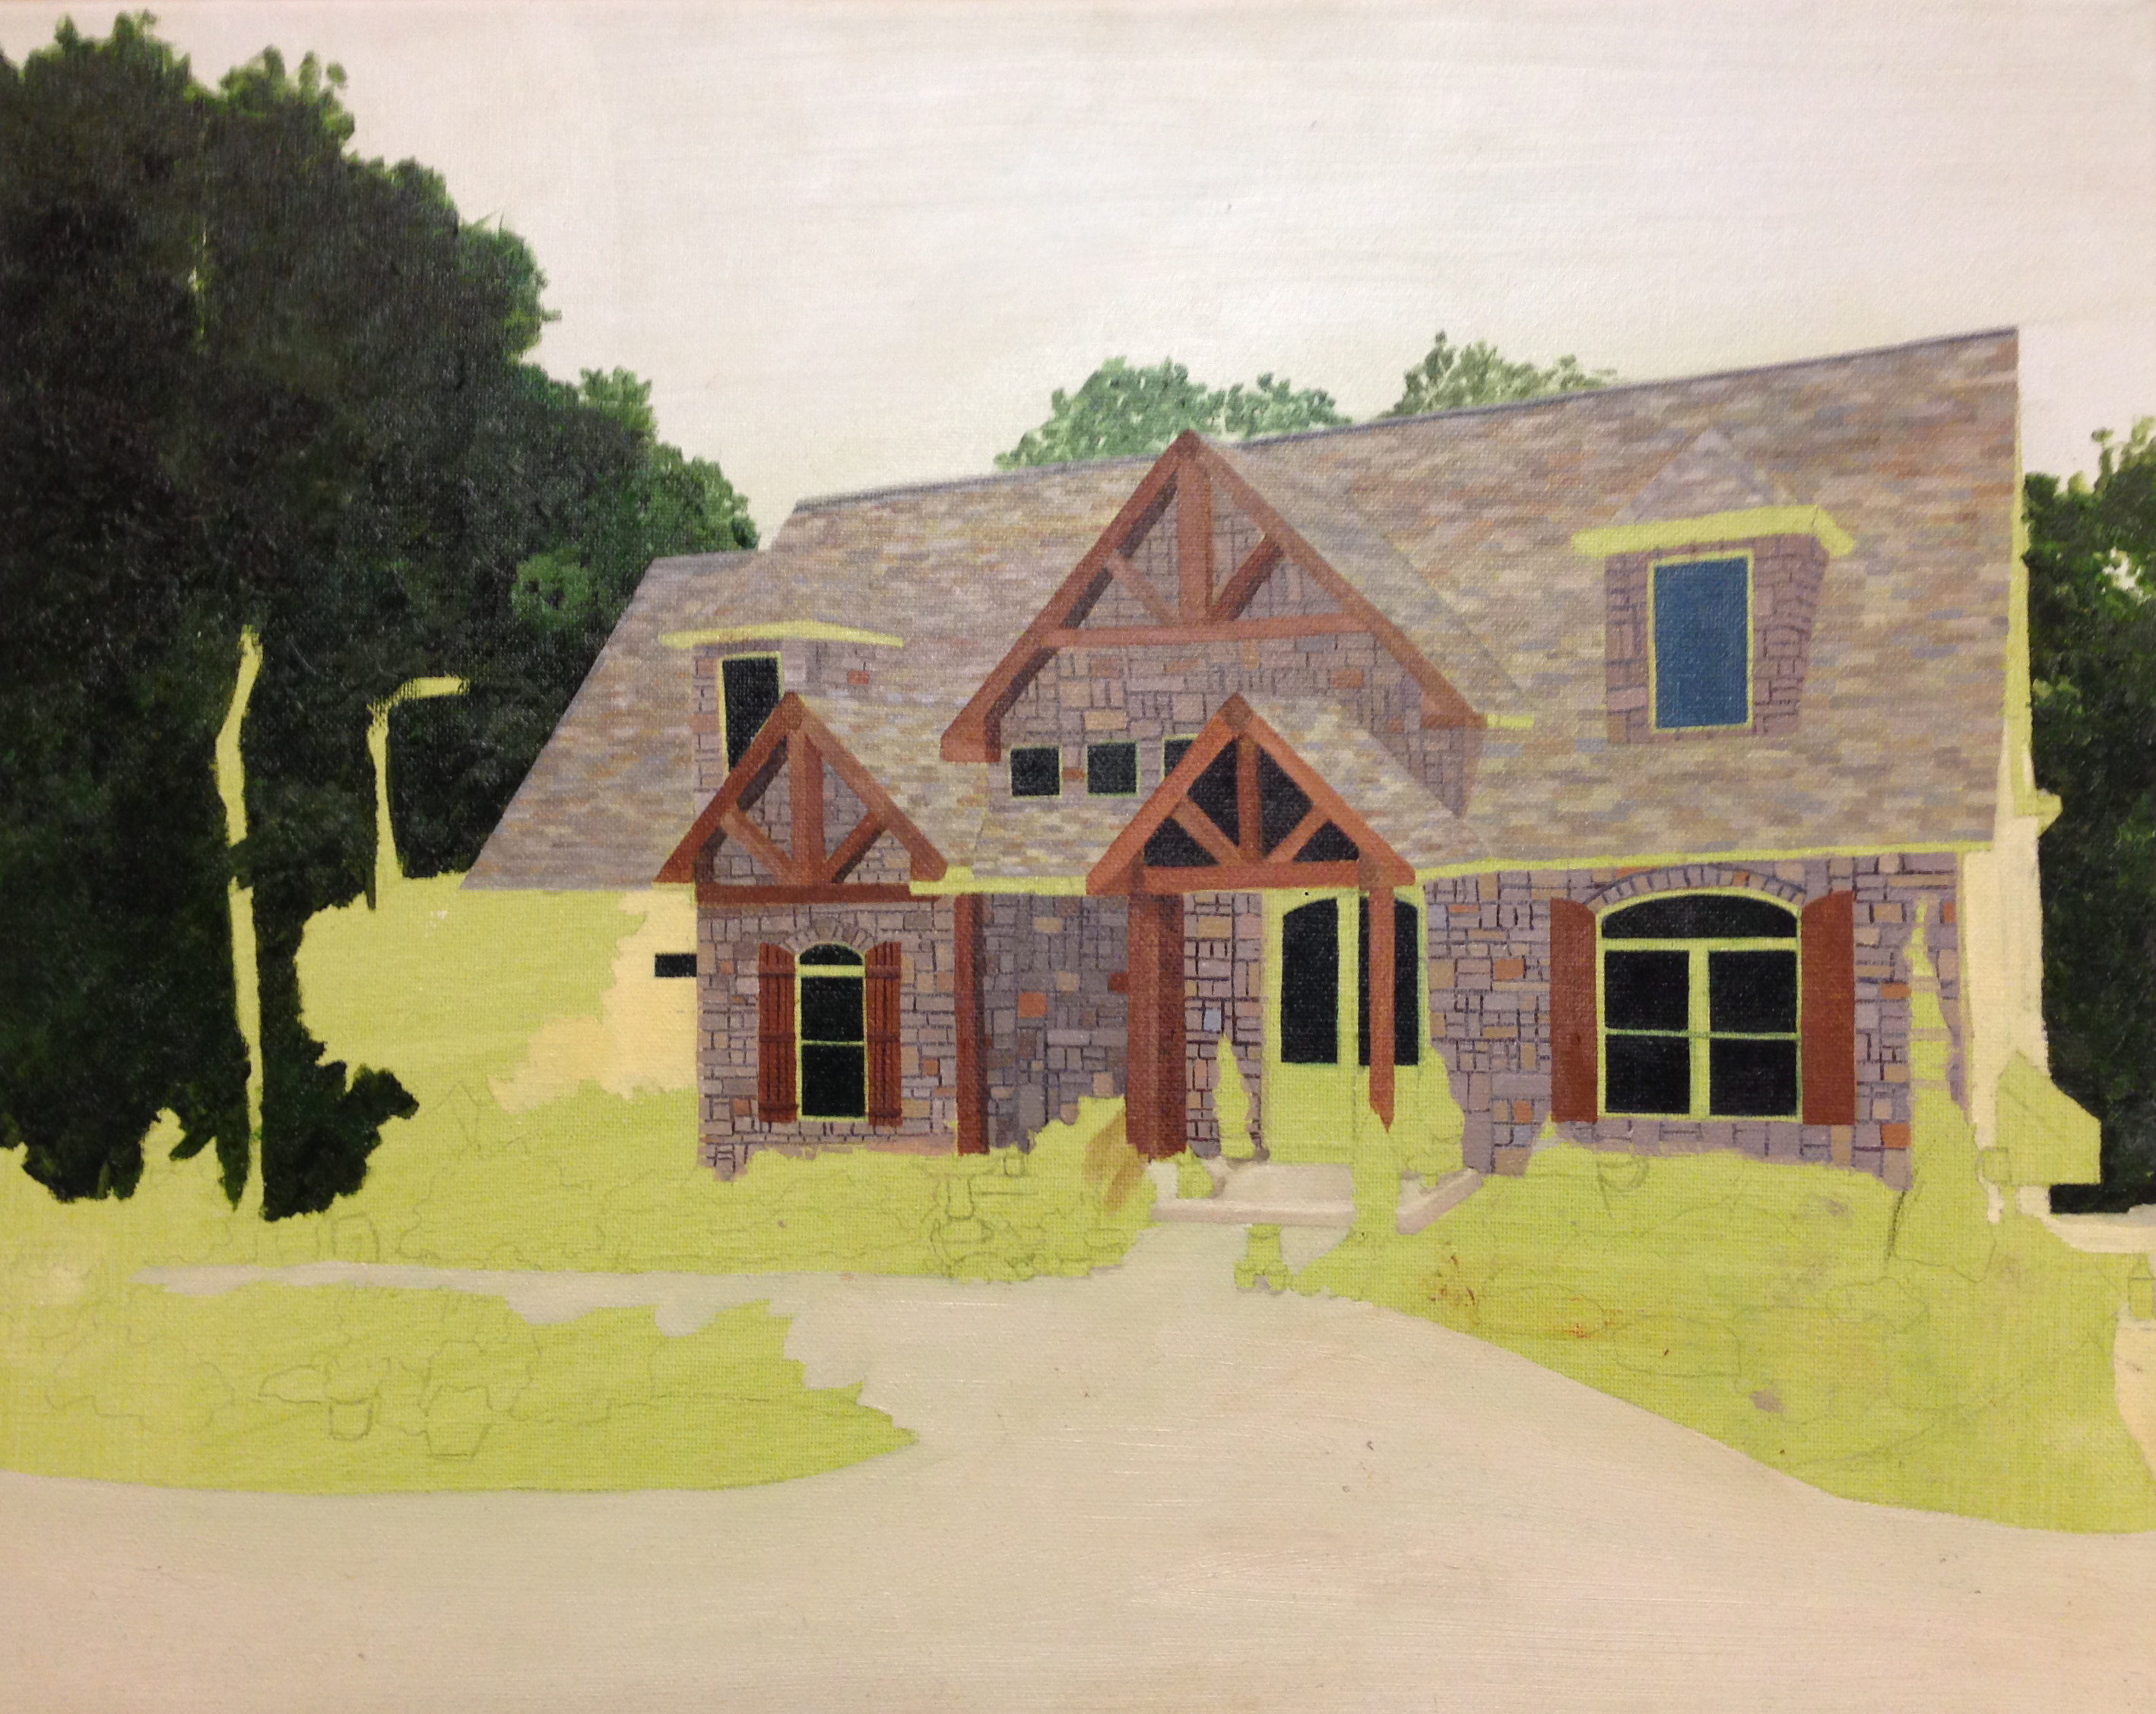
Phase 15
Phase 16: I painted the front door, the white portions of the window panes and added some dark areas to the eaves on the roof. I also painted some of the dark browns in the landscaped areas as well as a naples yellow to serve as the under color in the brick retaining wall at the bottom right of the painting.

Phase 16
Phase 17: Okay, so I missed a few photos here. Between phase 16 and 17, I completed the white strips in the windows, painted the brick areas (same concept using the scratch off tool as used for the stonework), painted the dark and mid-tone greens in the landscaping, painted the highlights in the trees, painted the green and white awning on the side of the house and painted the tree trunks. I guess I was just so excited with the progress that I forgot to take photos…
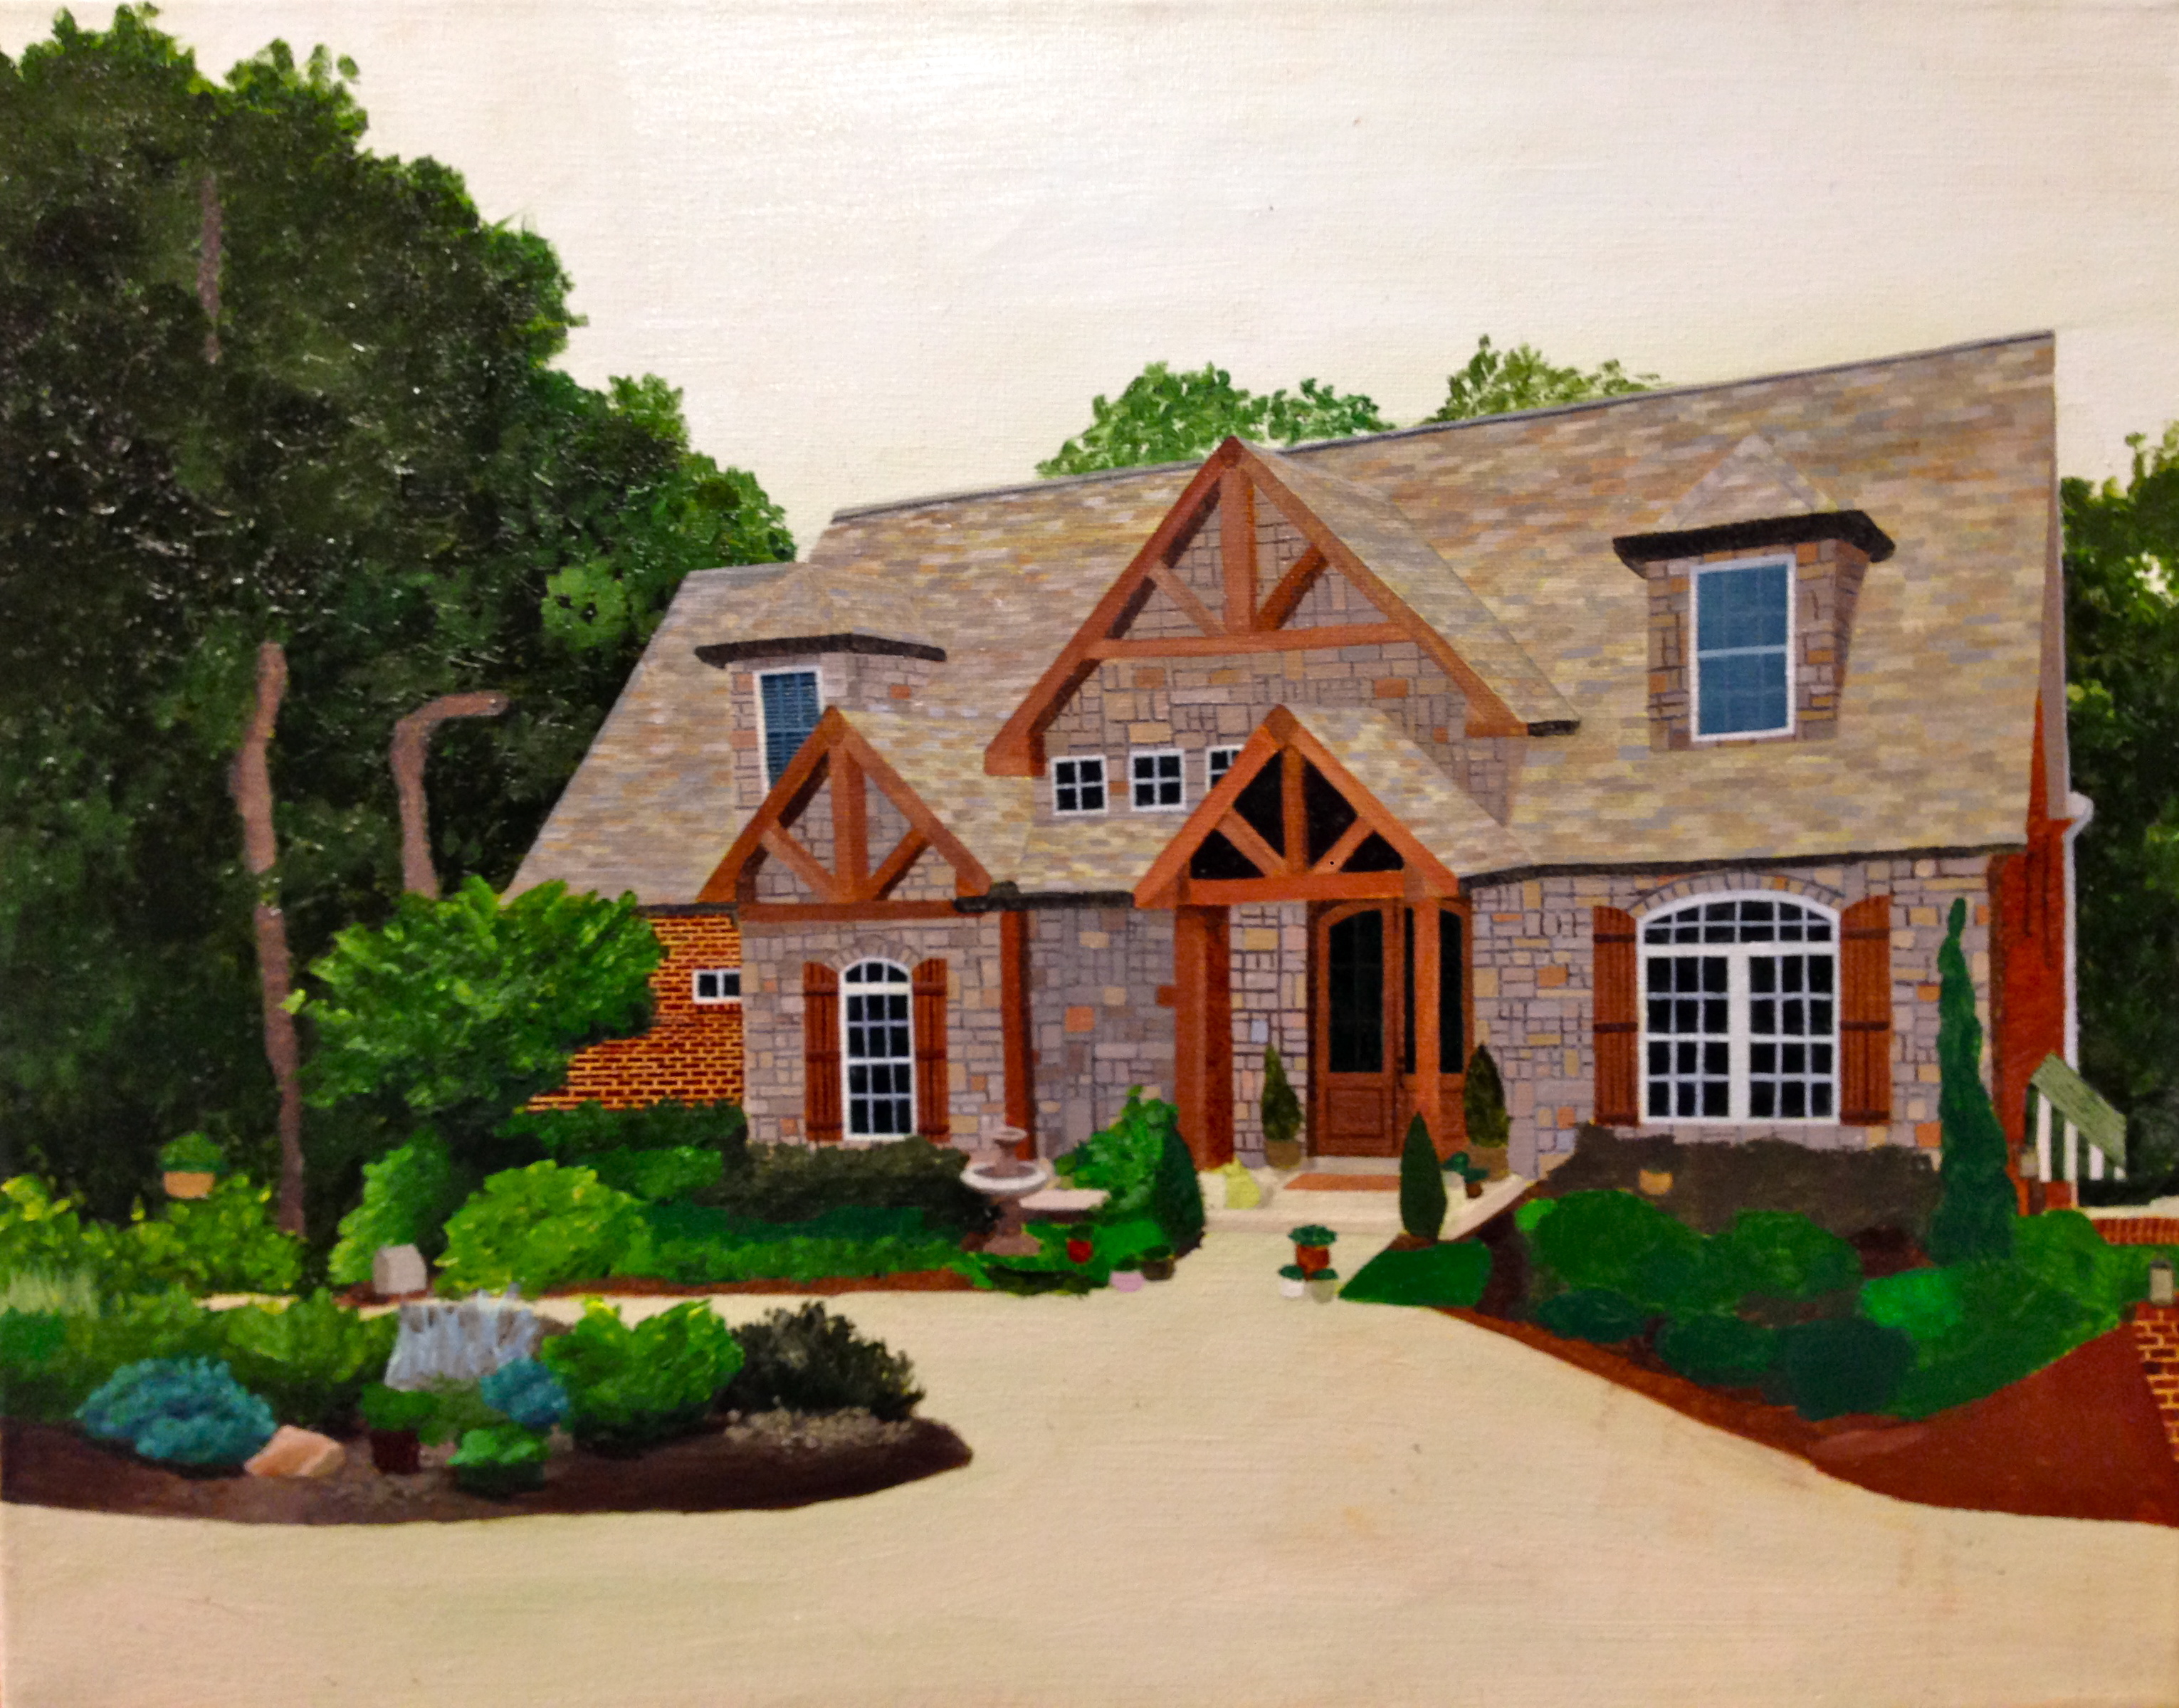
Phase 17
Phase 18: I continued on the landscaping by adding in some light tones and highlights. In doing this, I realized that the dark green in the trees wasn’t dark enough, so I added some darker values back into that area.
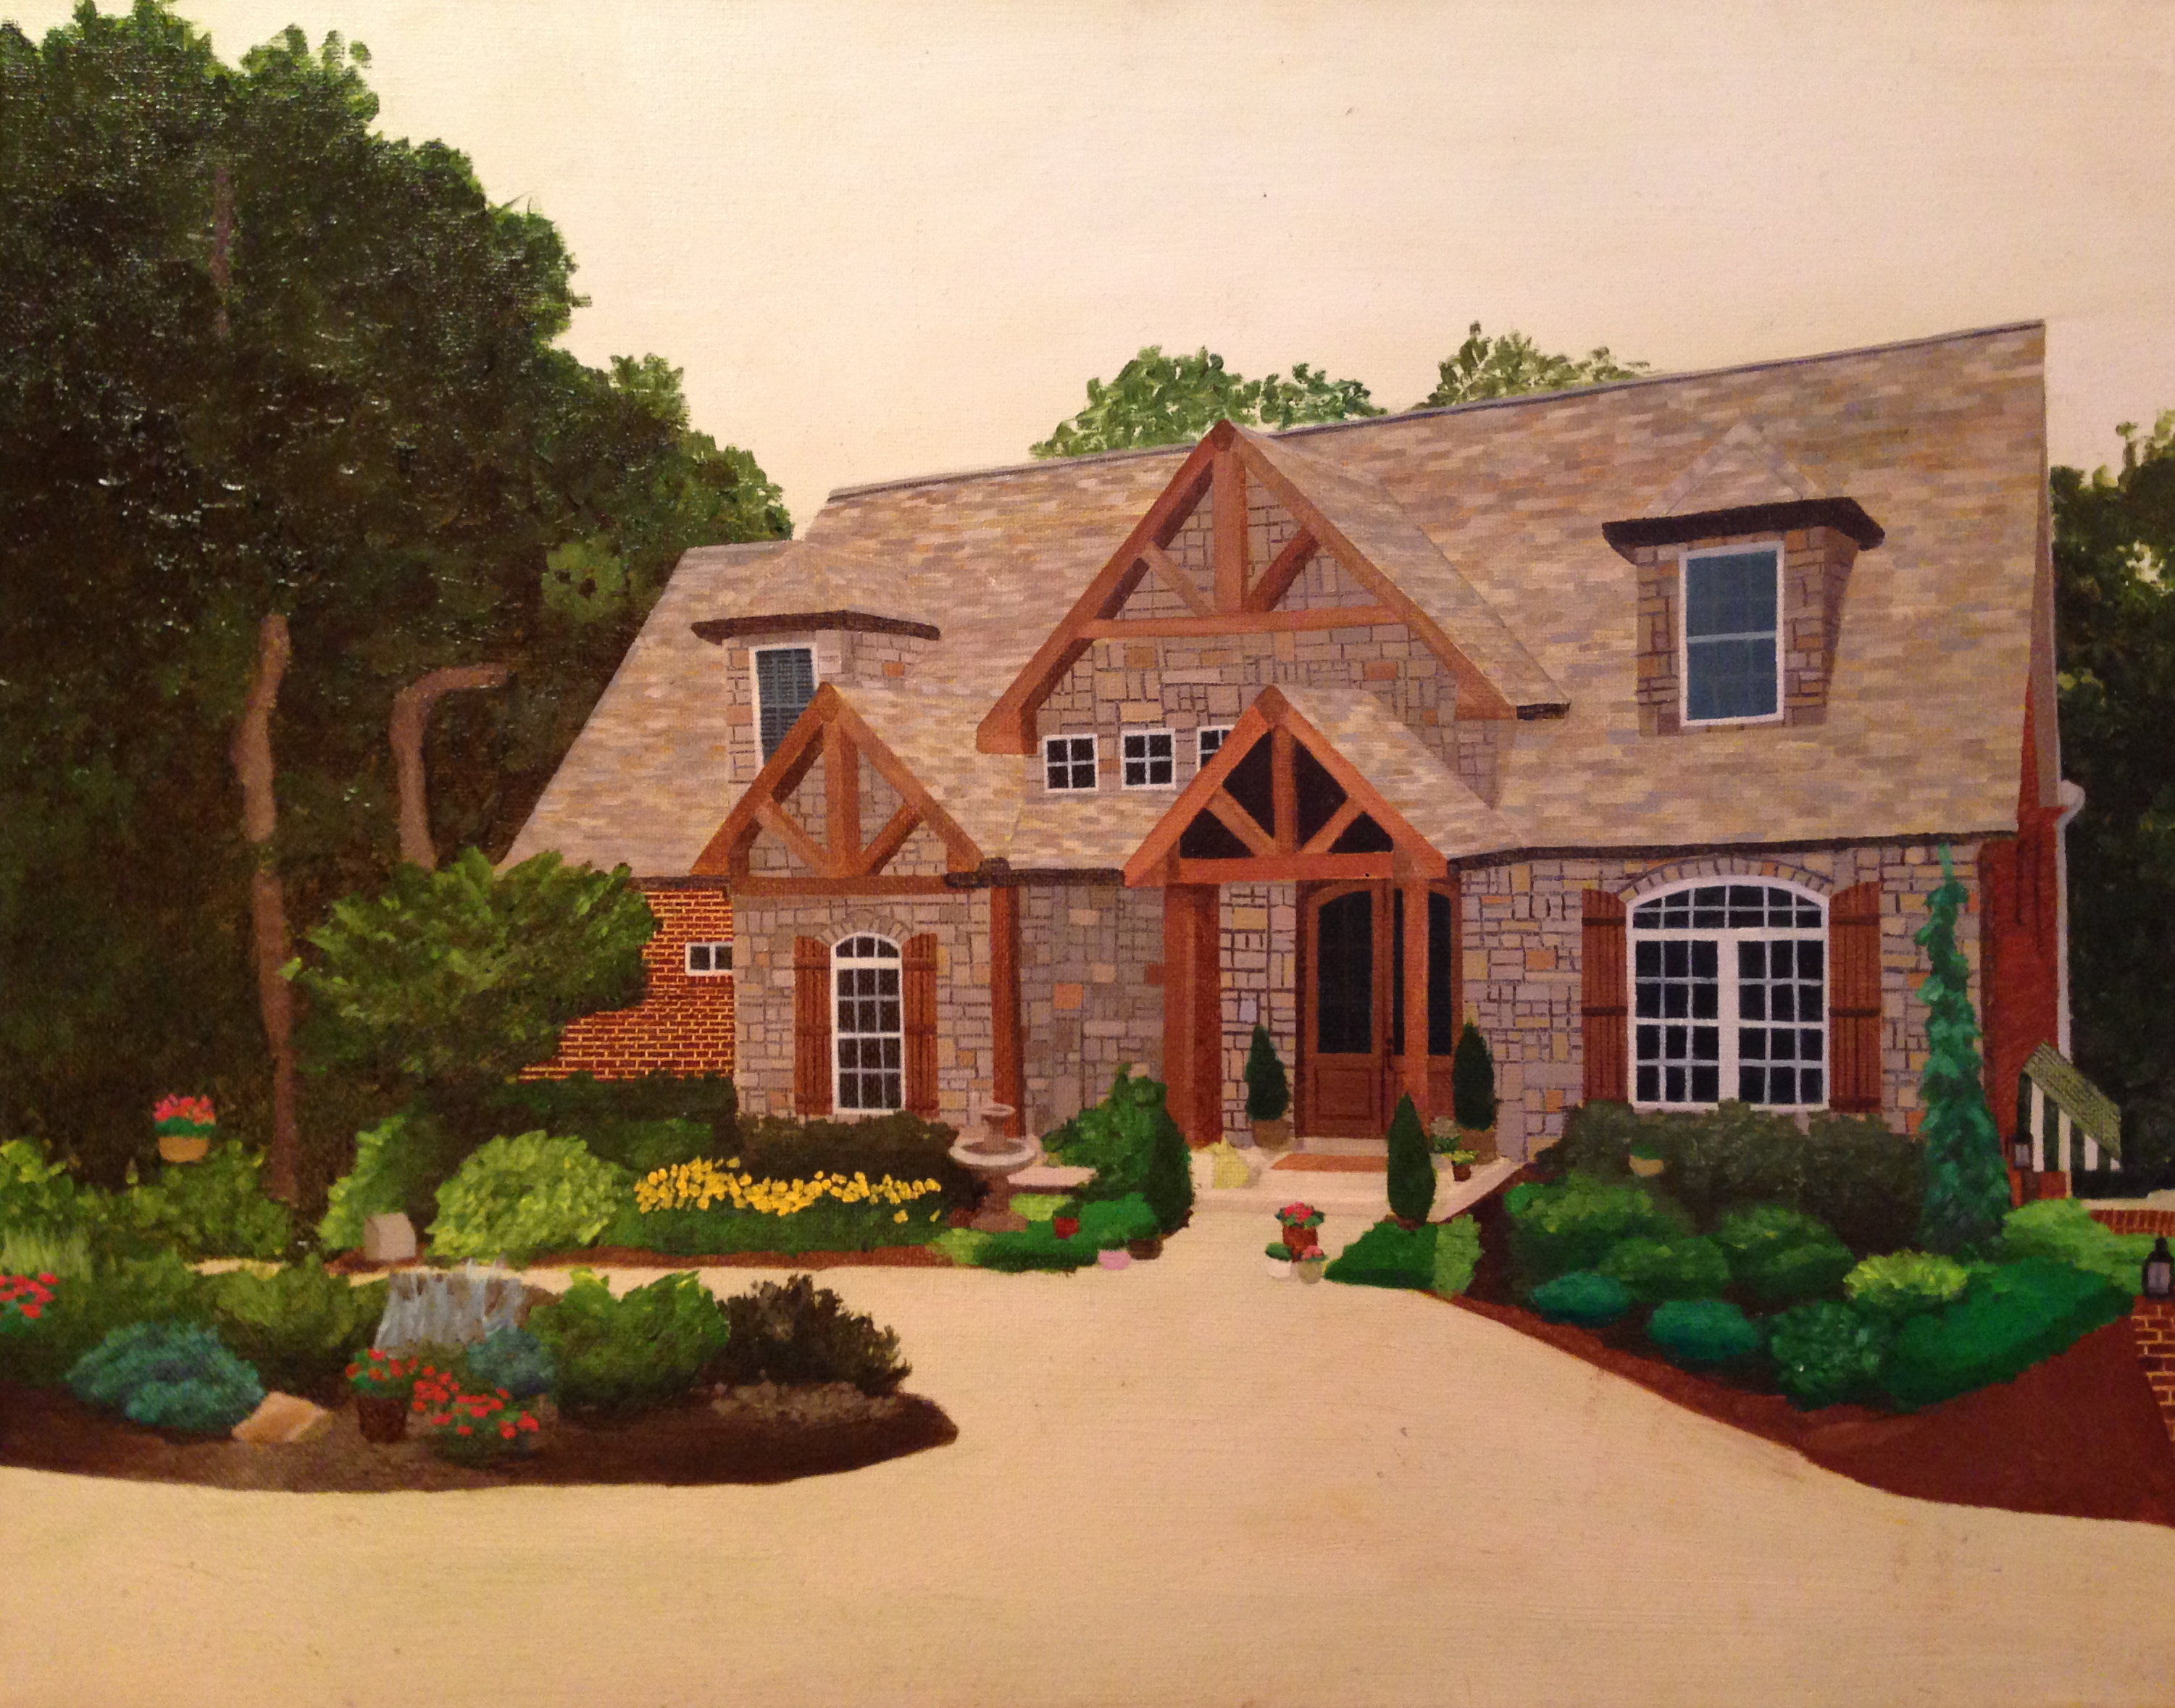
Phase 18
Phase 19: I completed the landscaping and painted the the brickwork in the retaining wall in the bottom right corner of the painting.
Phase 19
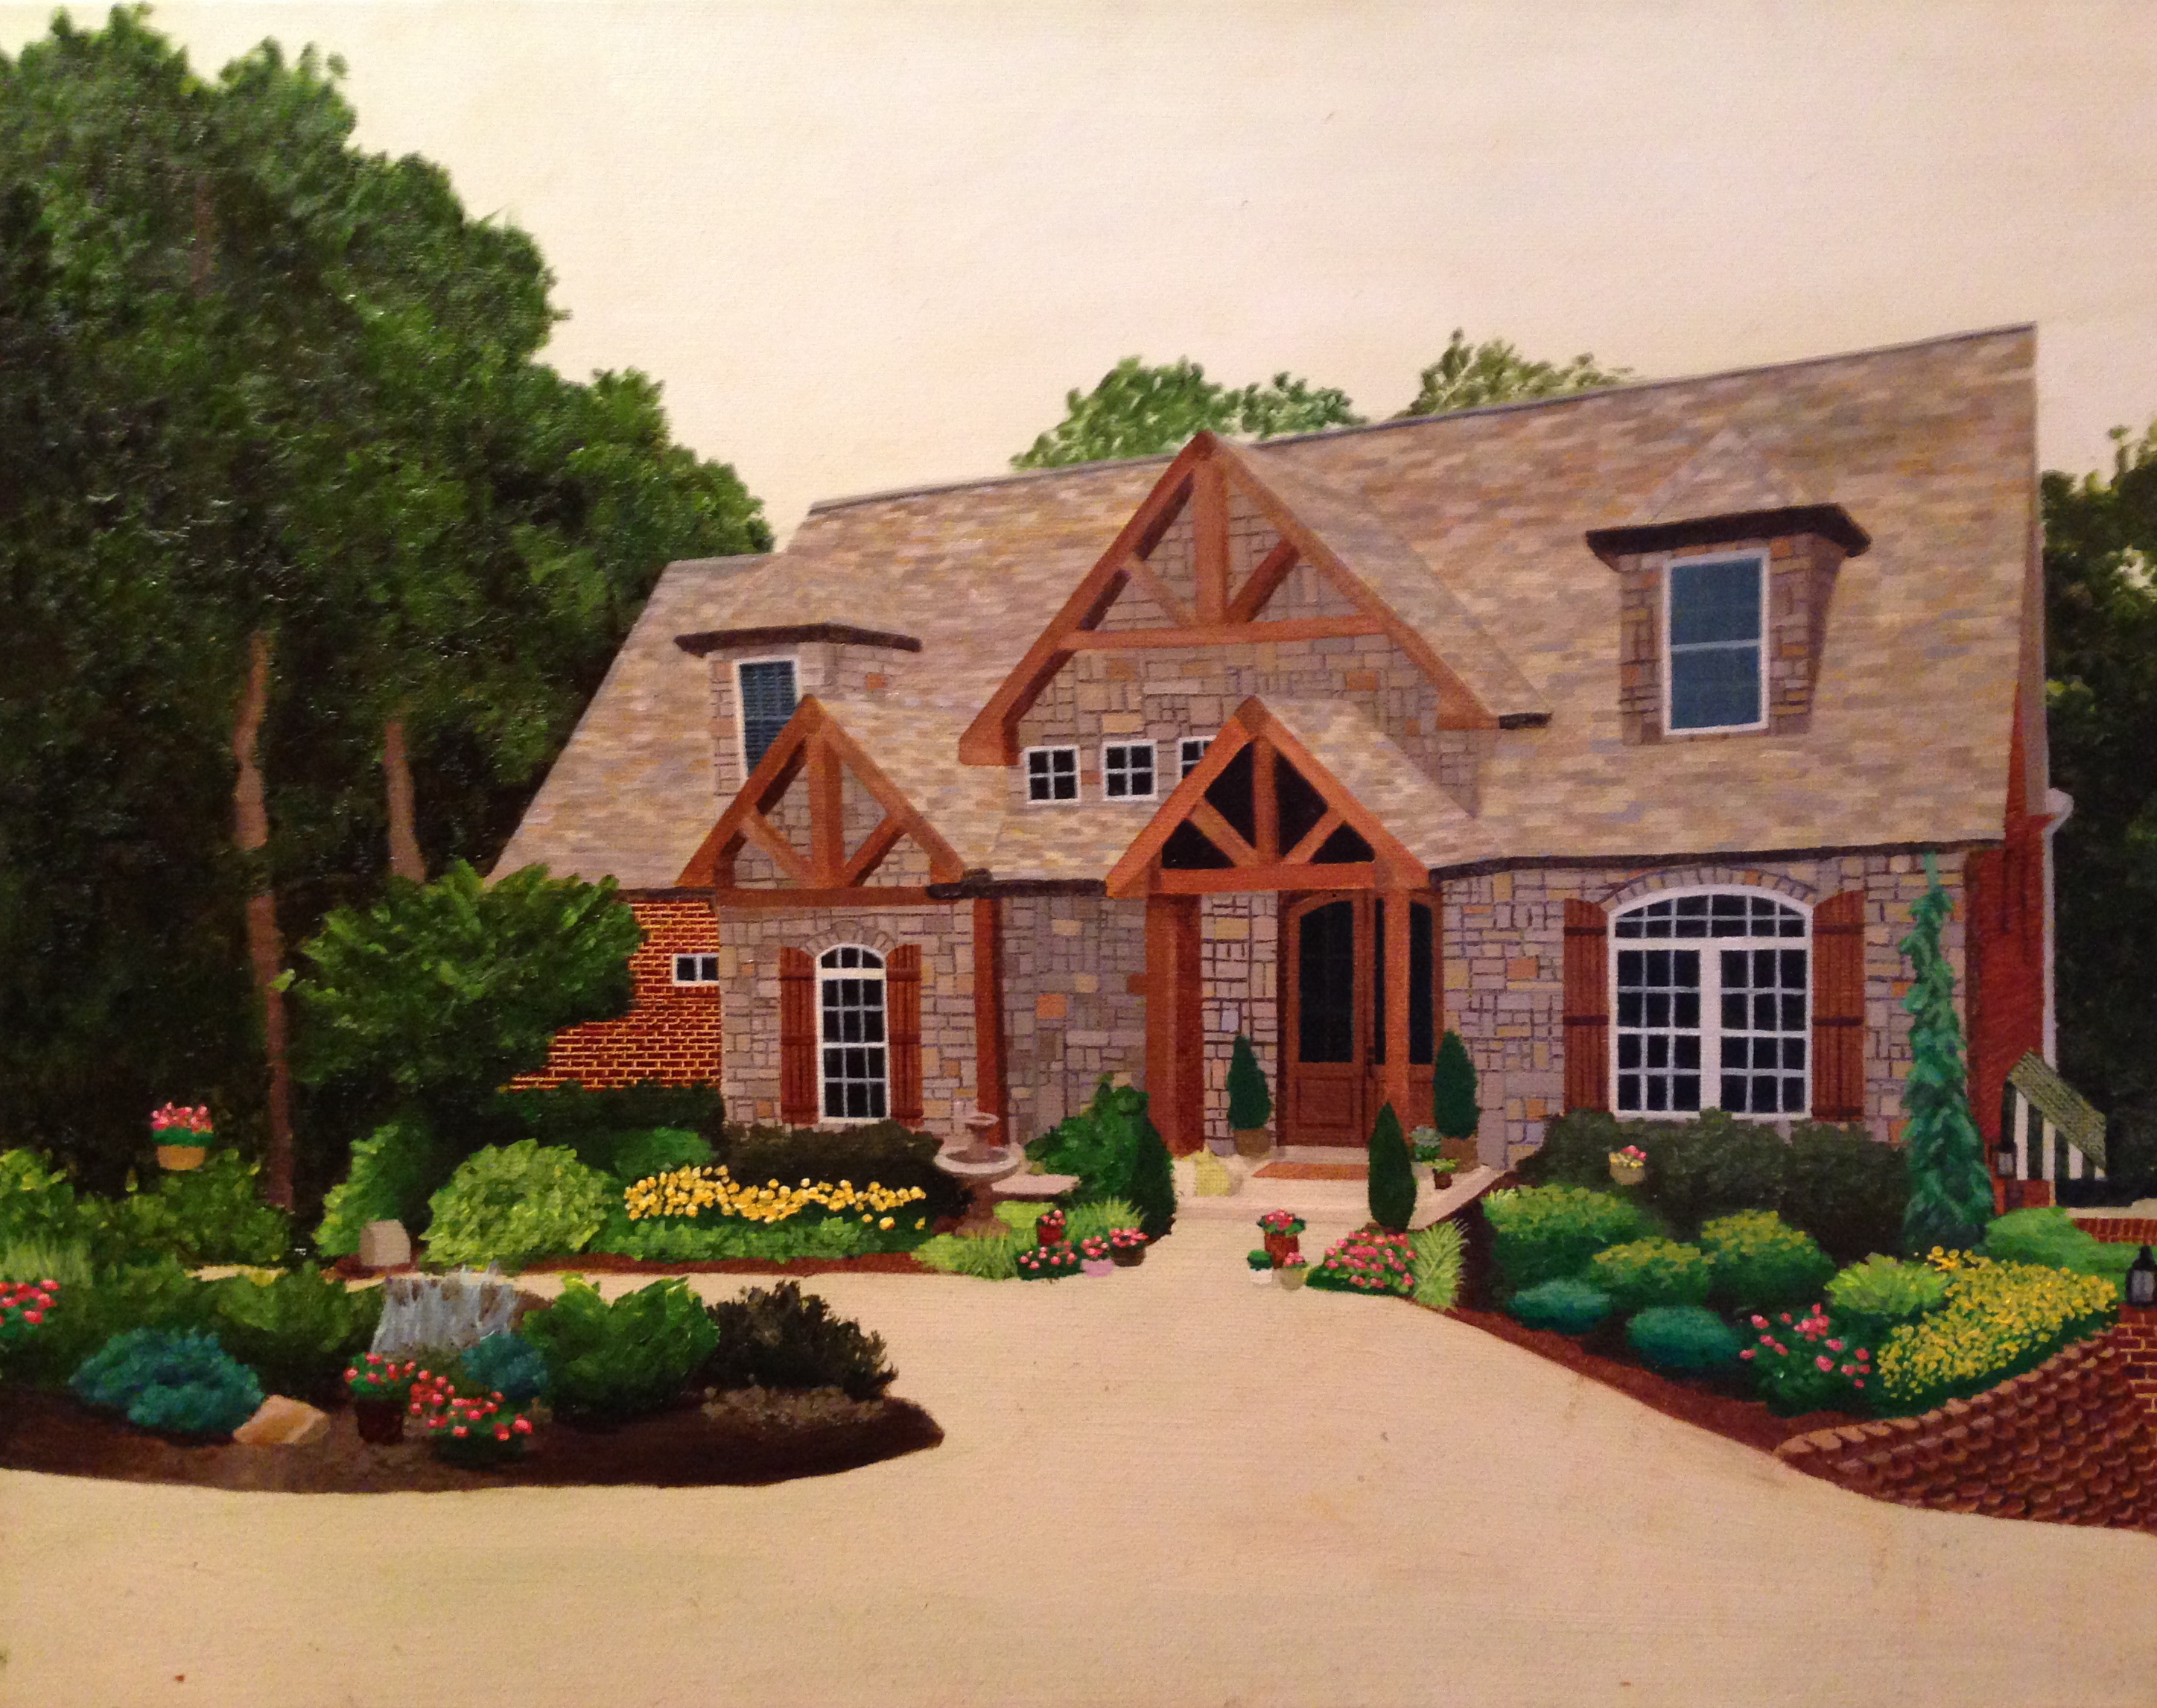
Phase 20: I missed a couple of pictures between phases 19 & 20…yet again I’m sure I was so excited with my progress I forgot to take photos. Between phase 19 & 20, I glazed in the dark shadows under the roof eaves. Glazing entails mixing up the desired color and then thinning it down with a painting medium (linseed oil in my case). It took several coats to reach the desired dark value. Also, I painted expansion joints in the driveway.
I painted in 4 cats…can you find them? The two on far left and right are Sammy and Mitzy. They are two of the family’s cats who have passed away. The two cats in the center of the painting and Bella and Dewey, the family’s current cats.

Phase 20 – DONE!
Where the painting now resides:
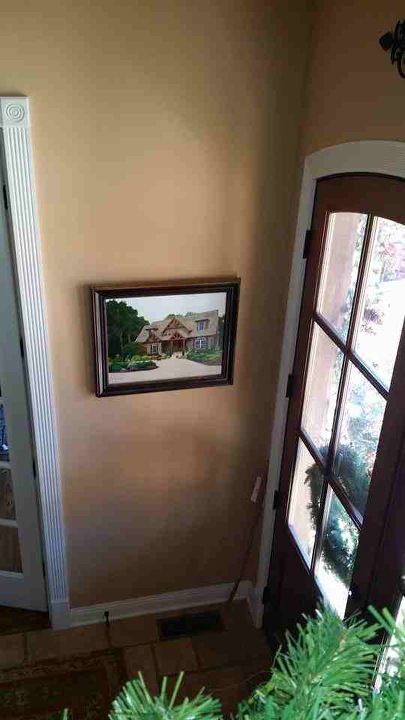
Home sweet home

Pingback: Bell pepper paintings; 8×8 oil on canvas | Lauren Spires Fine Art