I had the privilege of taking a workshop from Nancy Seamons Crookston earlier this month and let me just start by saying that Nancy is the sweetest, kindest and most humble artist I have every painted with! I’m not saying that the other artists I’ve taken workshops from are none of these things, but Nancy just has the best personality!
The themes of this workshop really resonated with me and brought a lot of things that I have learned in other workshops full circle. I felt that there were tones of Peggi Kroll Roberts’ focus on light/shadow and values as well as the way that Carole Gray-Weihman taught me to look at color.
This is an excerpt from the information packet Nancy gave us: “‘Check your work with the rules but paint what you see.’ It comes down to color relationships. This workshop will show you the best way to paint and see color with the teachings of Russian Impressionists. The logical way that nature reacts to the natural laws of light and color. Train your eyes to see. You will study those rules of color, value, and temperature and never look at painting the same way again.” I just love this!! It perfectly sums up what I learned in the workshop.
Nancy studied under Russian impressionist Sergei Bongart. From my observation, Russian impressionists paint with really clean (not muddied or gray) color – as evident in Nancy’s work. Nancy paints with an expanded three-color palette; she has a warm and cool of each primary color as well as white and burnt sienna. Her colors are: titanium white, ceruleum blue, ultramarine blue, burnt sienna, alizarin crimson, Winsor red (or grumbacher red), cad red light, yellow ocher and cad yellow medium.
Nancy’s method is as follows:
- Start with a thumbnail sketch to work out your composition
- Draw your design on a toned canvas – typically a blue/gray
- Block in the big shapes of color with an appropriate value and color
- Modeling (spend about 80% on this step) – paint what you see but check yourself with the rules:
- Value – lights/darks
- Hue – direct color
- Temperature – warm/cool
- Details – highlights
On the first day of the workshop, Nancy demoed a still life for the class. I just love her colors!


I love taking photos of a painter’s palette after they’re done painting. It’s so interesting to see how they mixed their colors.
After Nancy’s demo, we all had the opportunity to try our hand at painting using Nancy’s method. This is my still life from the first day:
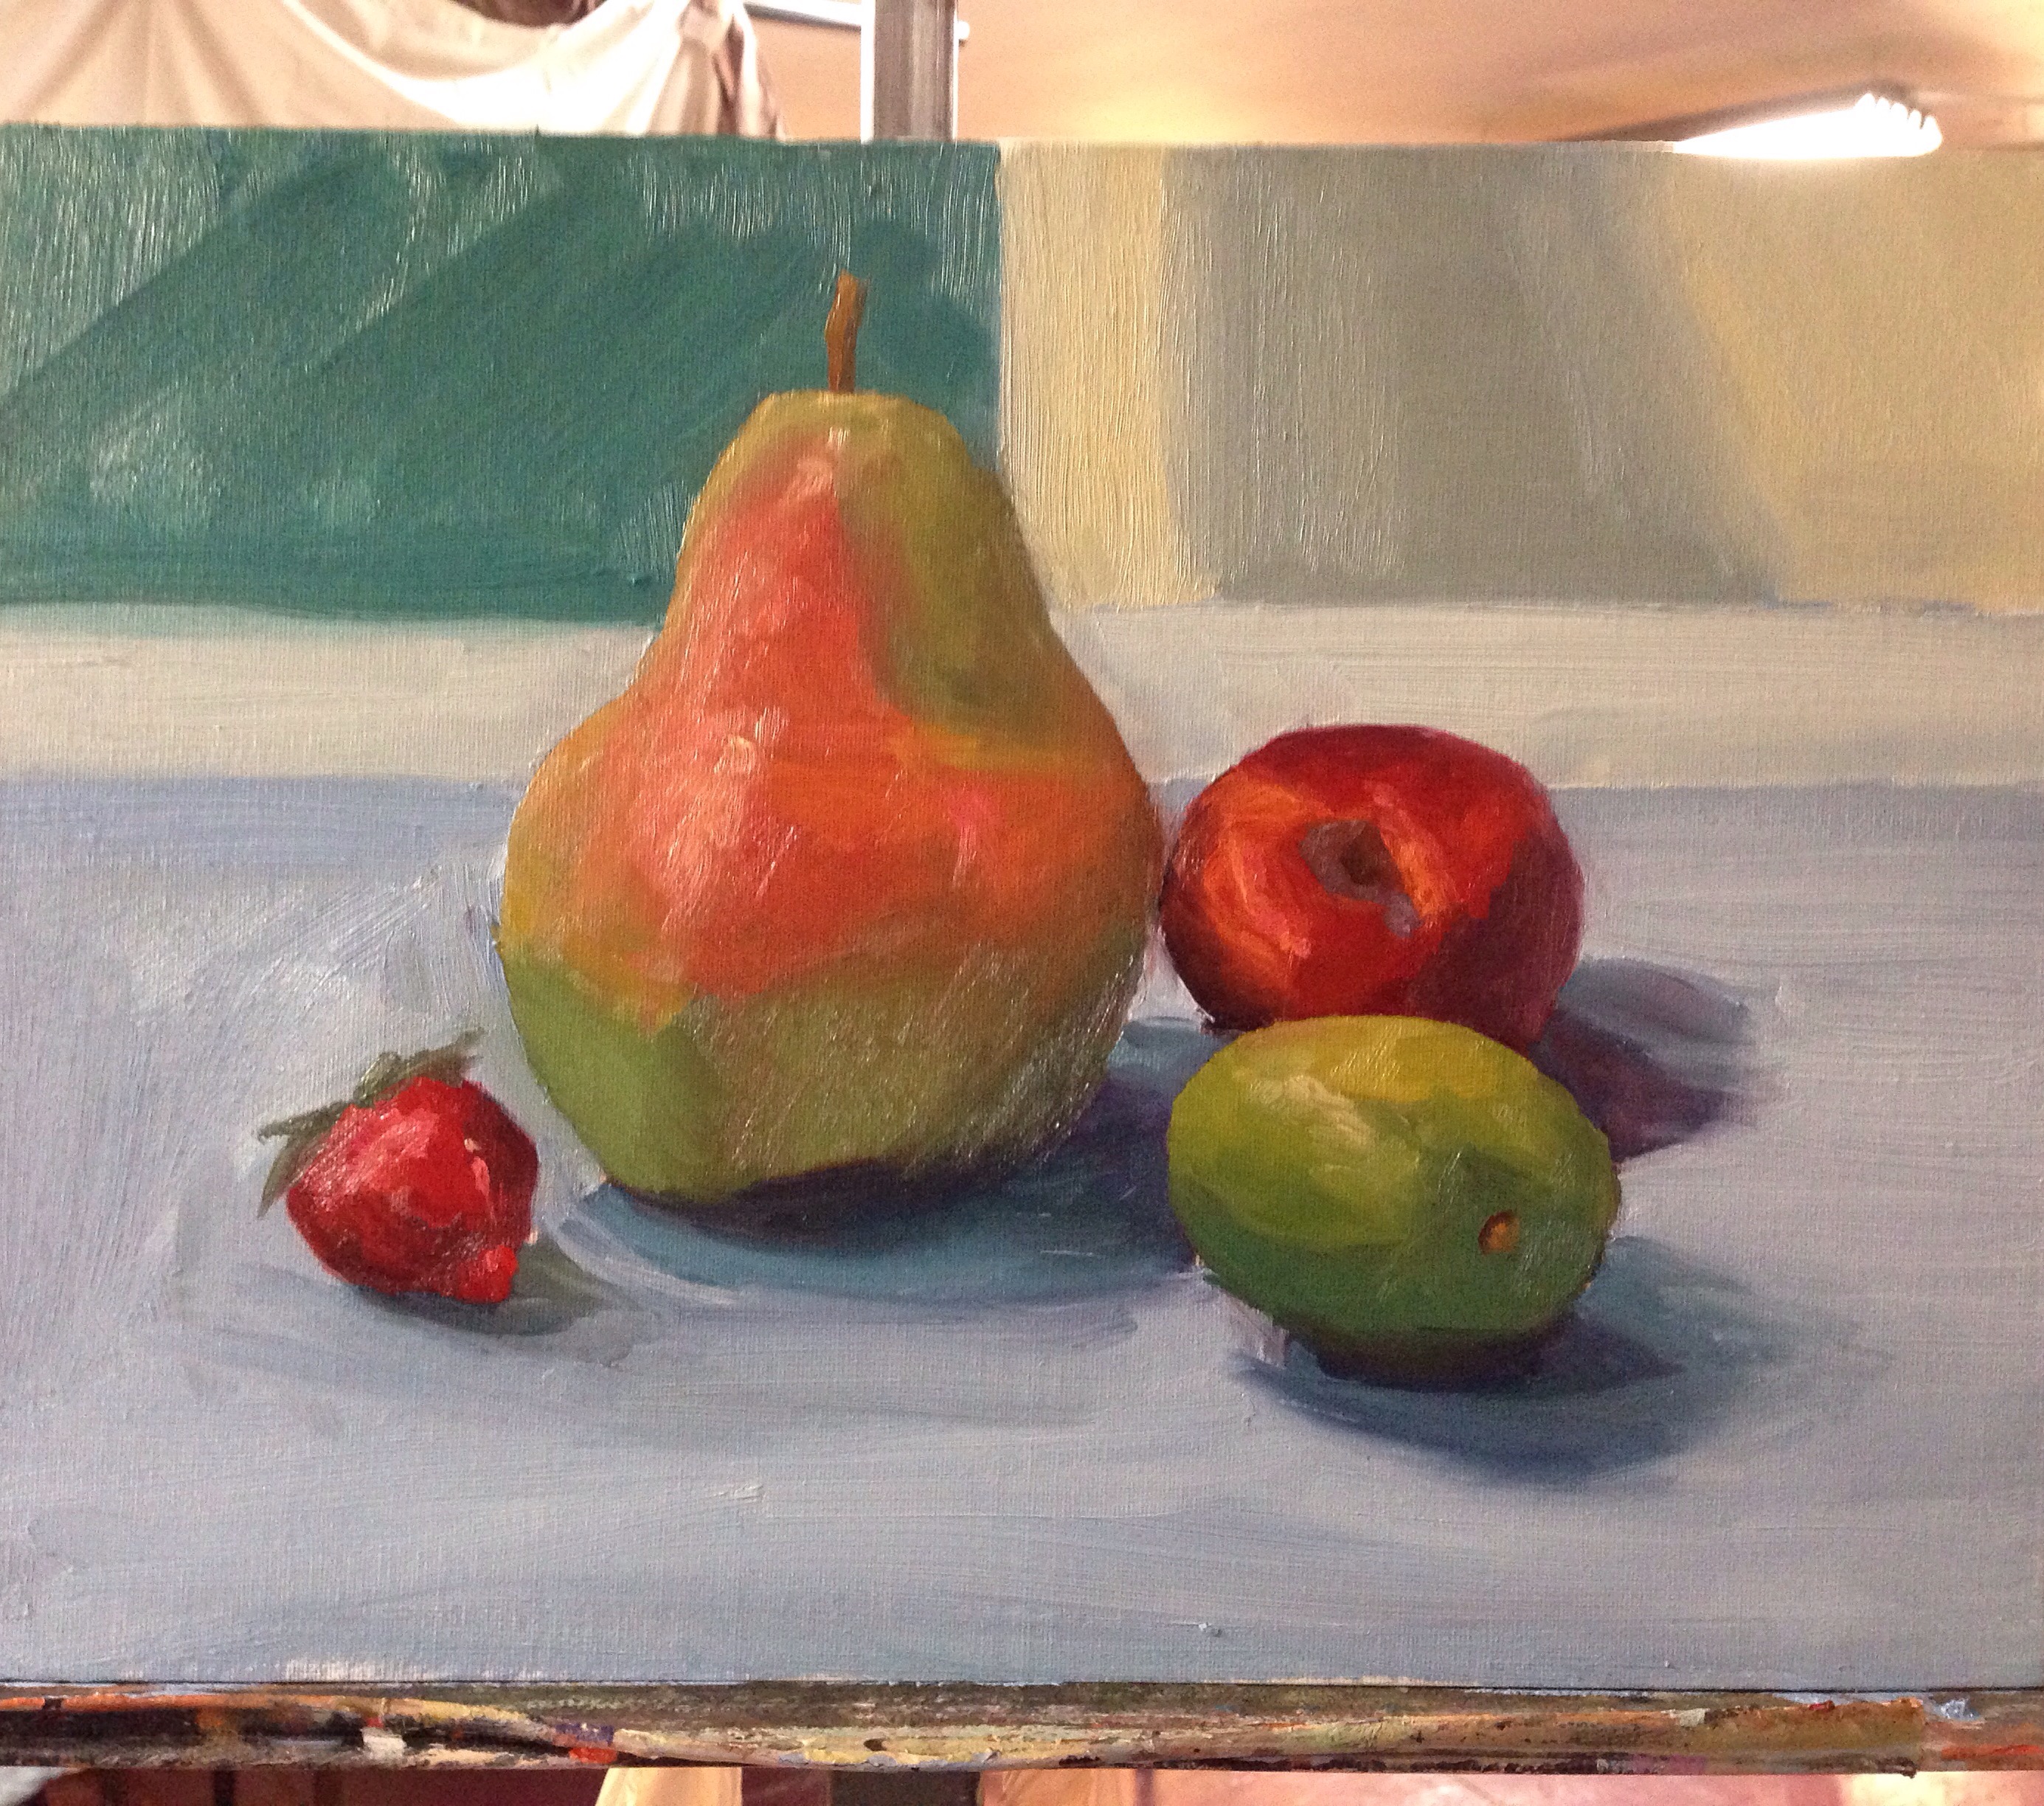
My still life painting
I learned a lot about seeing the varying hues and temperatures within a single value plane. I kept struggling to mix the bright green on the lime…it looked fine when I mixed it on my palette but when I put it on the canvas, it just fell flat and didn’t stand out. Nancy told me that when she has that problem with a color, it’s usually because one of the other colors is off. It turned out that the shadow color I had beneath the pear was all wrong. It was too dark and too bue. At Nancy’s suggestion, I lightened it and pushed it more toward teal and voila! The green on the lime popped.
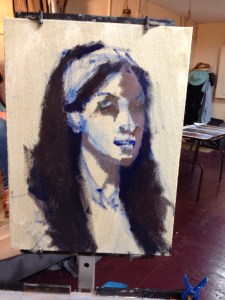
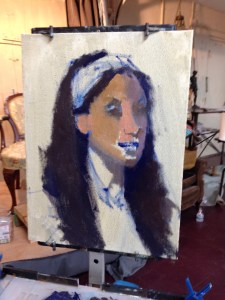
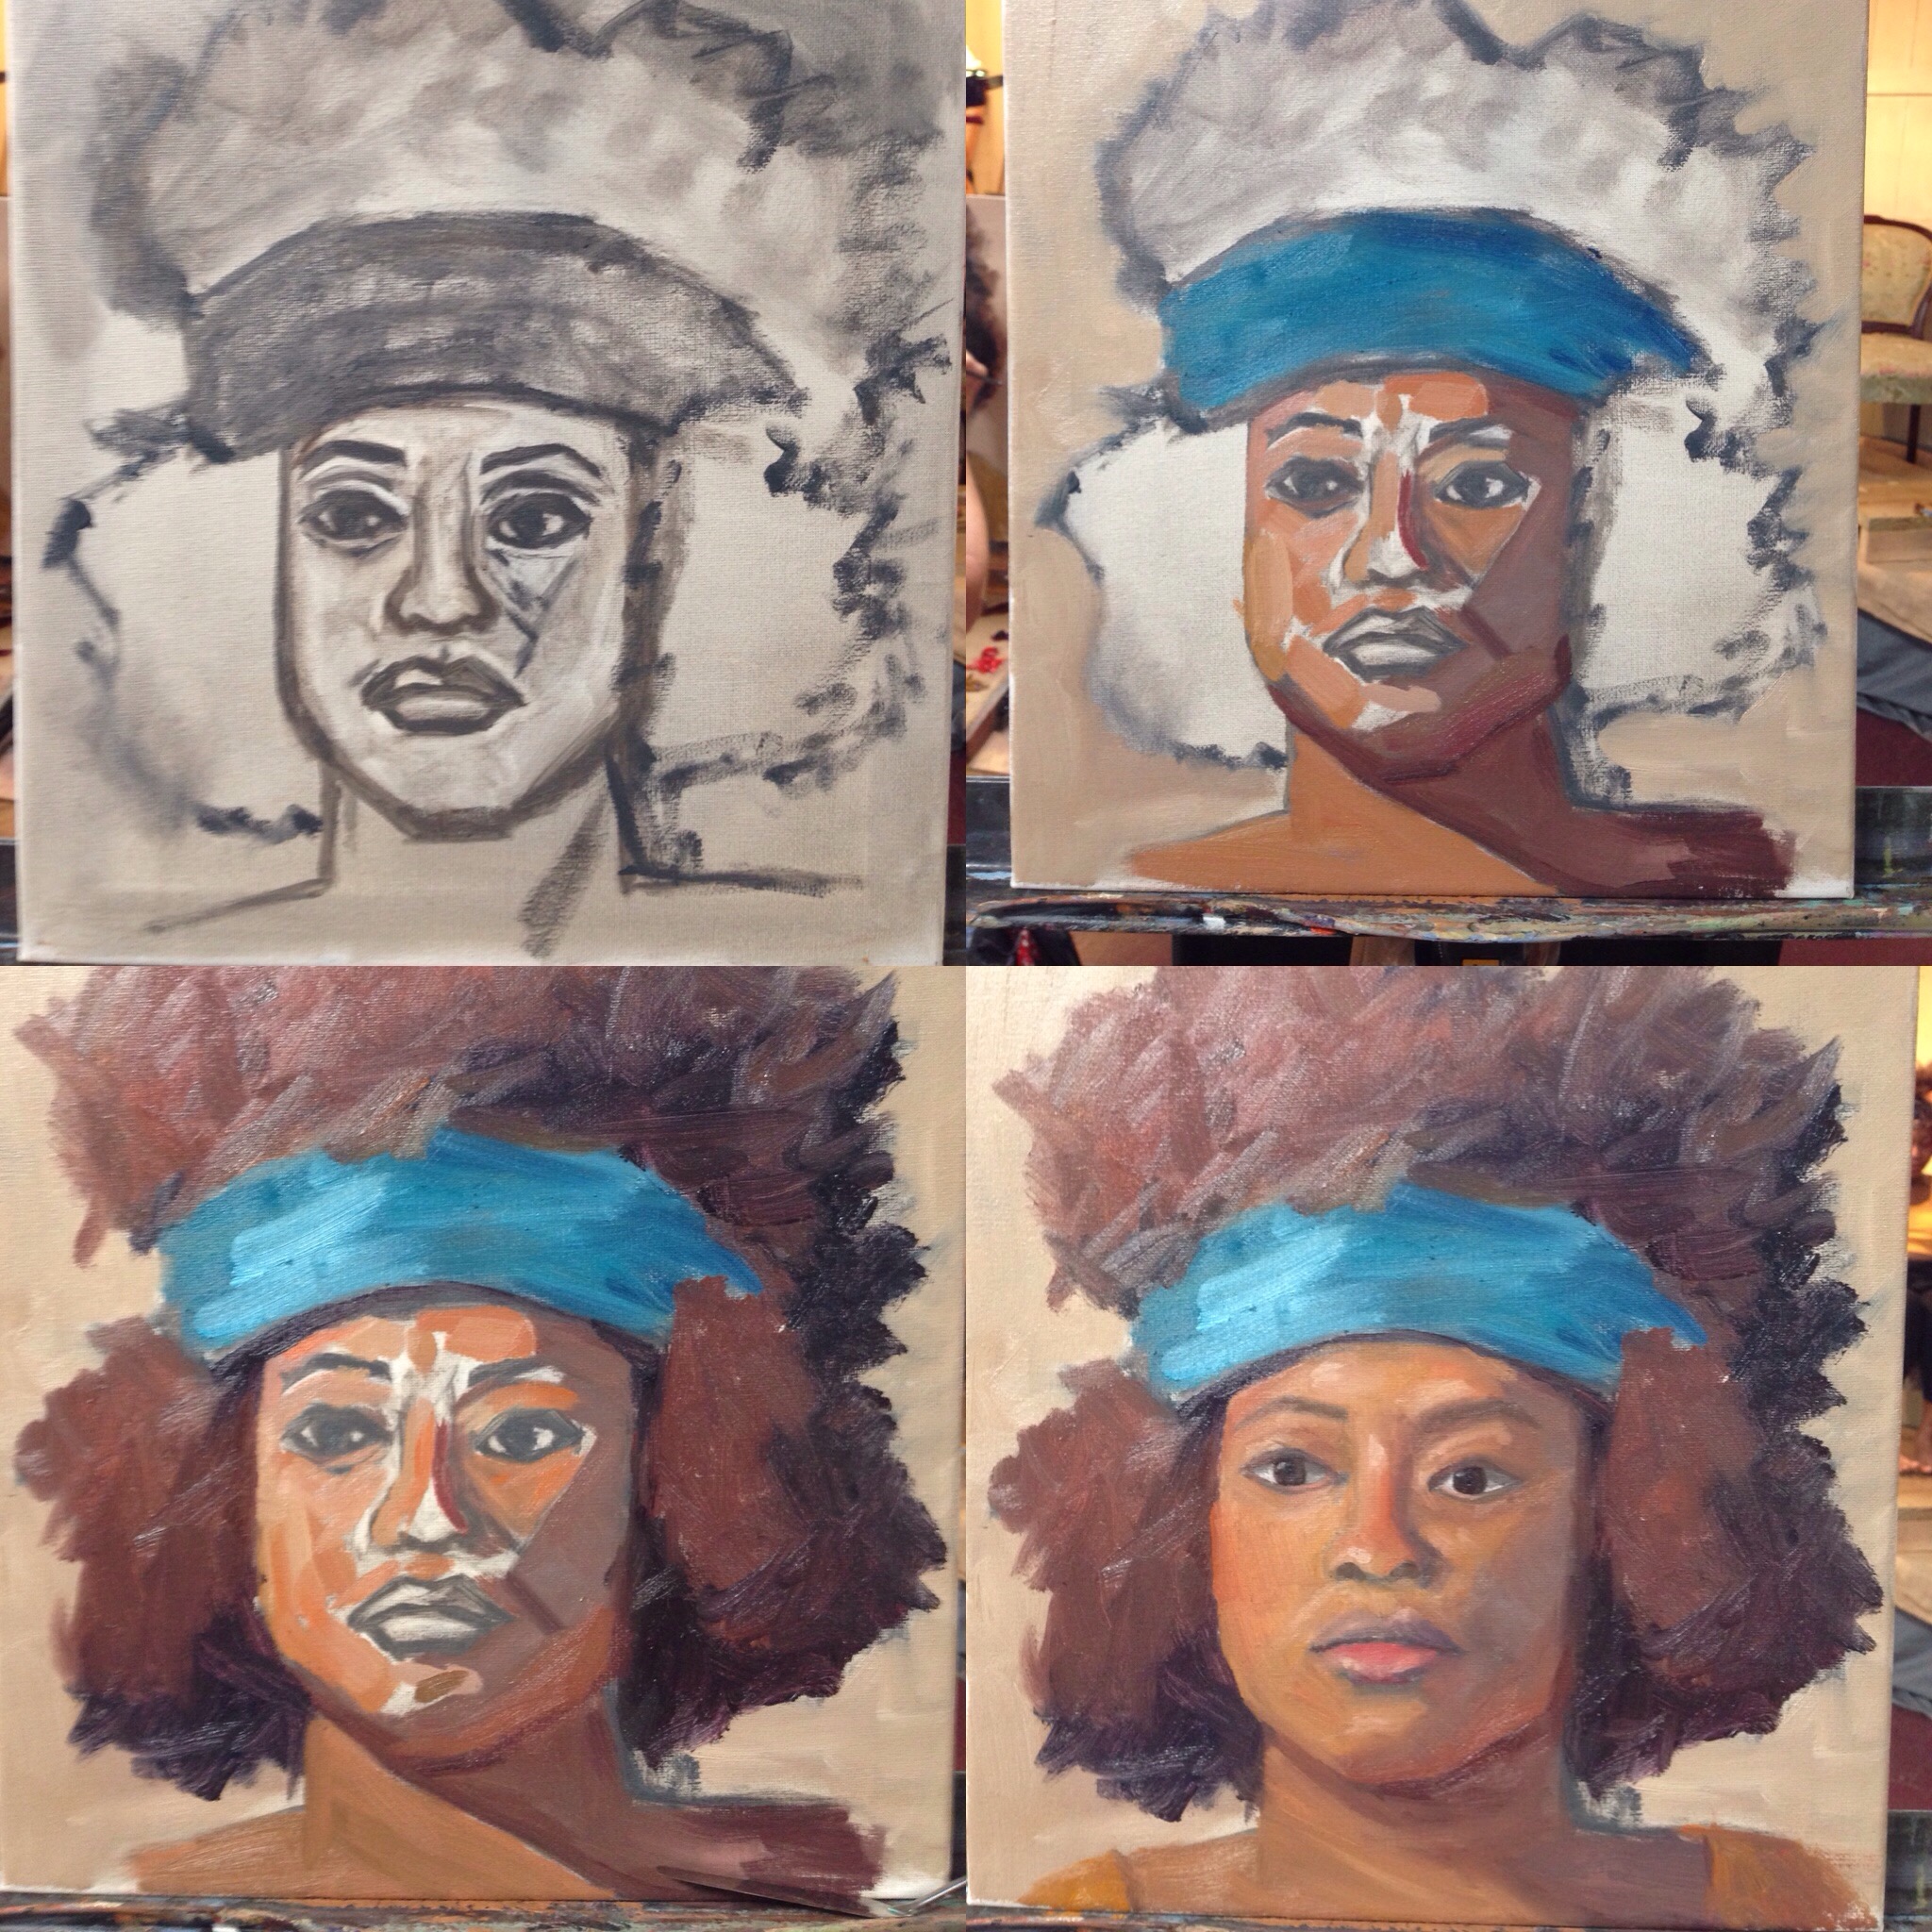
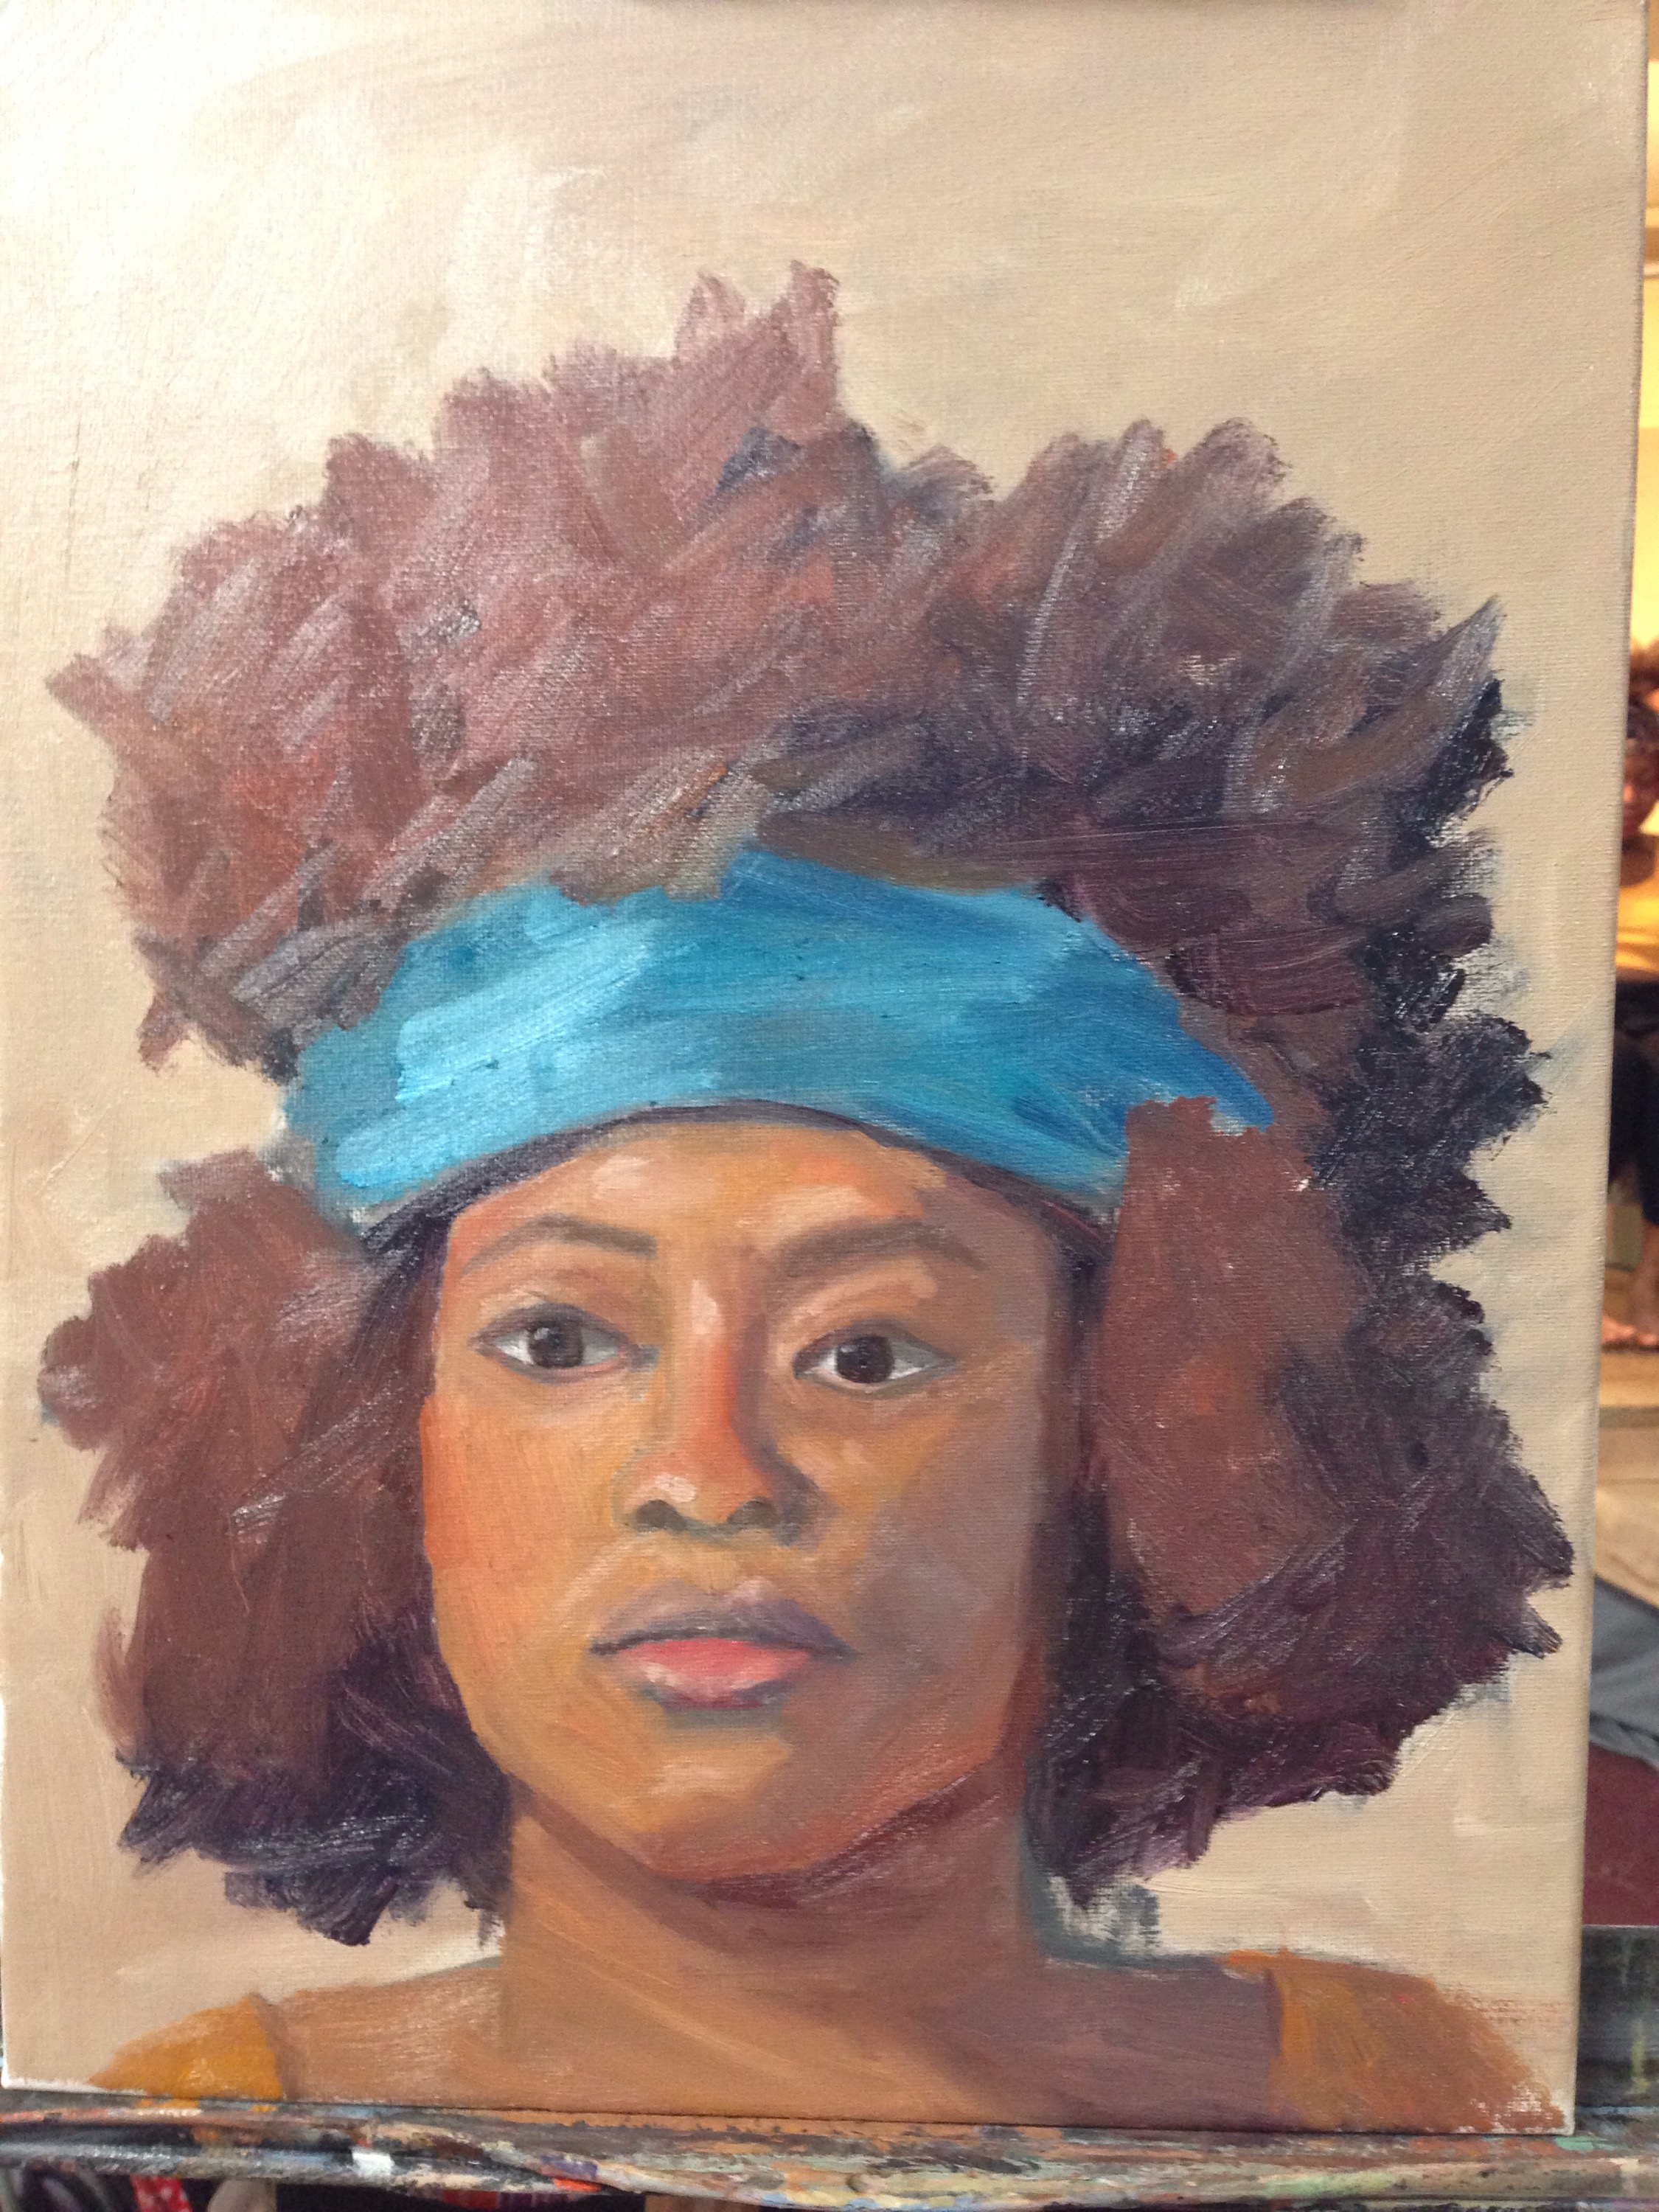
On the second day, Nancy demoed from a live model. Here’s a step-by-step progression of her demo:
-

- Nancy’s demo – stage 1
-
- Nancy’s demo – stage 2
-
- Nancy’s demo – stage 3
-
- Nancy’s demo – stage 4
-
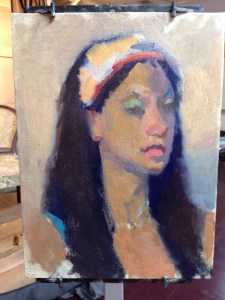
- Nancy’s demo – stage 5
-
- Nancy’s demo – finished!
You can see how she drew the figure on a toned canvas, then began blocking in large shapes. She started with everything in dark, then everything in light. She then began modeling within the large shapes and correcting the hue, temperature and values – constantly checking herself against the rules, but always painting what she saw. The finished product is absolutely gorgeous!
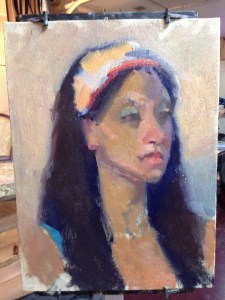
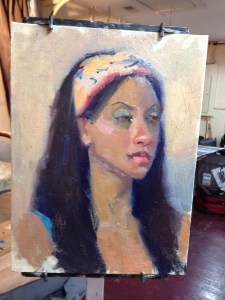
On the third and last day of the workshop, we were given the entire day to paint from a live model and I made sure to take my time drawing and painting. I spent literally two hours drawing the model’s head on my canvas! I’ve always been taught that your painting will only be as good as your drawing so that’s why I spent so much time getting the drawing just right. I then took my time going through Nancy’s steps of blocking in the big shapes of light and dark, then modeling, painting what I saw while checking myself with the rules.
Step-by-step progression of my study
Final version of my study
Other than ‘egyptian-eye syndrome,’ I think it turned out pretty well! Keep in mind that this was 2 hours of drawing and about 5 hours of painting. As I mentioned, I spent a lot of time making sure that my drawing was correct before I started painting and I really took my time testing out values and colors before I got a bunch of paint on the canvas. Nancy helped suggest some color choices for the light area of the skin as well as the lips.
Nancy really stressed the importance of drawing every day. Nancy practices what she preaches and brought in several of her full sketch books for us to flip through. This really inspired me to draw daily and I have been doing so since the workshop!
I really enjoyed taking this workshop with several of my Artists on Main friends – Karen, Pat and David! We were just missing the fourth Rowdy Room member, Gina! It was also nice to meet and get to know the other workshop participants. Some I have painted with before at other workshops and some are new acquaintances. It’s always fun to compare notes, discuss methodologies and inspirations.
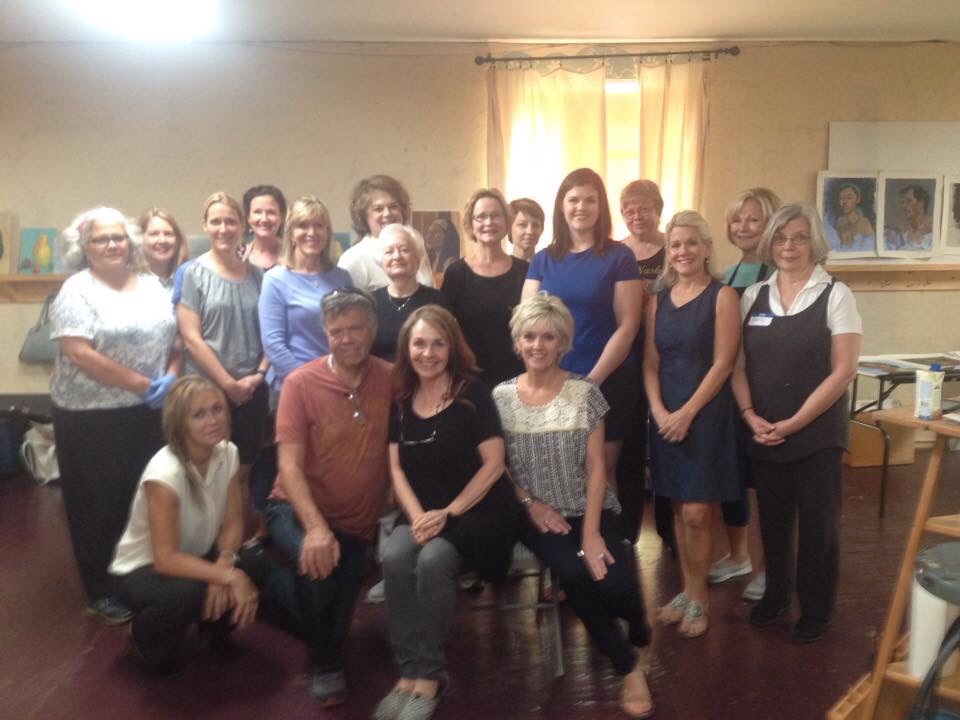
Group photo!
In closing, here’s a list of quips, quotes and sayings from Nancy:
- Don’t paint the fleas before the dog is done.
- Warm light = areas in light are warm, areas in shadow are cool; cool light = areas of light are cool, areas in shadow are warm
- If you have your palette memorized, it’s like playing the piano. You know exactly where your colors are.
- Constantly ask yourself – How warm, how cool? What is the general color? How light, how dark? You have to make these decisions for every single item in the painting, even if they’re all the same color.
- Keep the shadow and light areas separated.
- There is no formula to paint skin tones, so much is dependent on what they’re wearing, the light, the background etc…
- Your brushwork is like your handwriting.
- Squint at subject, if you don’t see an edge, lose the edge in your painting.
- Everything within the shadow area must stay within the shadow’s value; same is true for the light areas.
- 80% of the painting is modeling.
- Every highlight has its own color, value and temperature (don’t use pure white for a highlight).
- You can have a warm and a cool highlight.
- Always paint what you see, but check yourself with the rules. Rules are generally right and you’re seeing incorrectly, however the rules can be broken.
- We as artists are so lucky because all we need to be thrilled with life is pencil and paper.
- Draw every single day!
- Don’t compare yourself to other artists. You can only compare you to you!
- Be thrilled when you can see what’s wrong with your painting because that means you’re growing.

Pingback: Bell pepper paintings; 8×8 oil on canvas | Lauren Spires Fine Art